Backyard Hotrods
Member
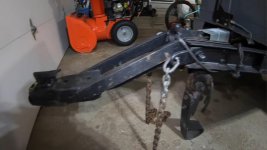
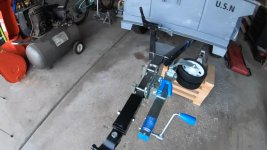
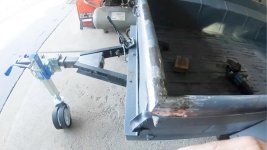
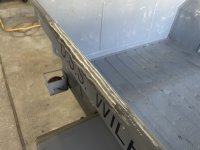
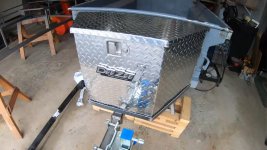
I took a trip out west with some friends of ours 1.5 years ago and they made a overland trailer from a M416 and that got my wheels turning. 1.5 years later I picked up this M416 and I am going to start a build.
I plan to post pictures as well as my videos of the journey!
I have a lots of thoughts/plans for it such as:
I Will be asking some questions along the way from experience of others that have gone this path already. I am really excited for it as we plan on using it on a big trip next summer (of 2024).
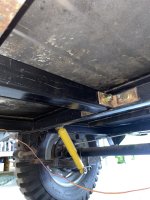
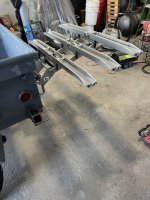
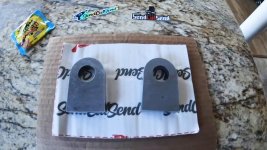
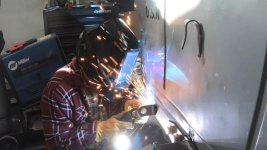
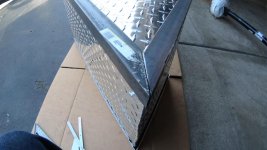
The trailer is in pretty good shape overall. My plan is to do the build/fabrication this winter and then in the spring have it blasted and i will either pant/ powder coat then once I am done with the fab work.
I have a YouTube channel called Backyard Hotrods where I am going to post frequent and detailed build videos. So far on my channel its been of my Cuda I have been working on so this is a different project/path for the channel.
Here is my first video
Thanks,
Wayne
I plan to post pictures as well as my videos of the journey!
I have a lots of thoughts/plans for it such as:
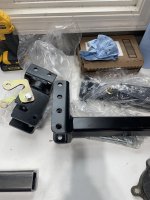
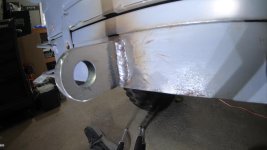
- a receiver hitch on the back
- extend the tongue
- tongue box for electrical/battery
- tongue jack
- stabilizer jacks
- Jeep wheels/tires
- update the electrical
- a hinged lid
- a raising roof top tent
- propane tank
- a solar panel
I Will be asking some questions along the way from experience of others that have gone this path already. I am really excited for it as we plan on using it on a big trip next summer (of 2024).
The trailer is in pretty good shape overall. My plan is to do the build/fabrication this winter and then in the spring have it blasted and i will either pant/ powder coat then once I am done with the fab work.
I have a YouTube channel called Backyard Hotrods where I am going to post frequent and detailed build videos. So far on my channel its been of my Cuda I have been working on so this is a different project/path for the channel.
Here is my first video
Thanks,
Wayne