llamalander
Well-known member
Hi, planning to build my pop-up with a small, insulated hot water tank for cleaning and bathing, principally heated with the engine coolant or a diesel engine pre-heater, & possibly 110v &/or 12v from my solar. Before I start I want to make a long-winded post to try and keep warm.
I'm gathering parts and hoping to make a solid plan before I cut into my coolant lines. If I can make it work, I'd like to add a radiator/blower type heater for the camper to the coolant loop as well. This will be permanently under and in the bed of my pickup, so it will need to survive being in the snow and altitude in winter, and functional then would be even better.
I have a few questions and am open to design suggestions-- getting this working on the first go would be ideal.
I have been building and tinkering my whole life, and 15 years with this truck in particular, so there's a fair chance that could be possible.
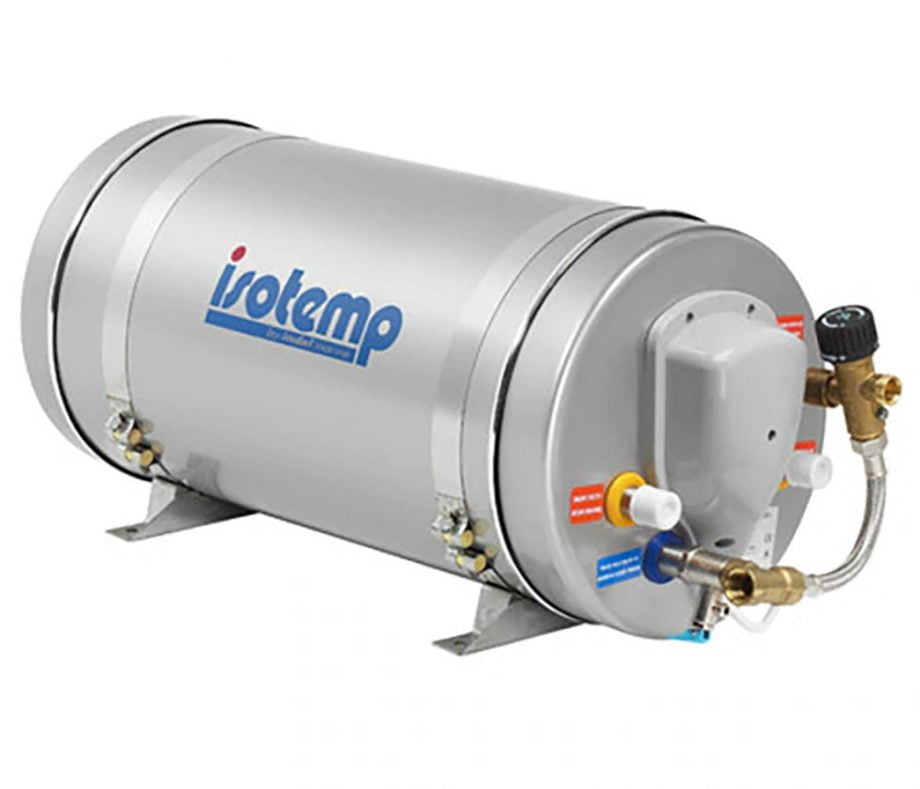

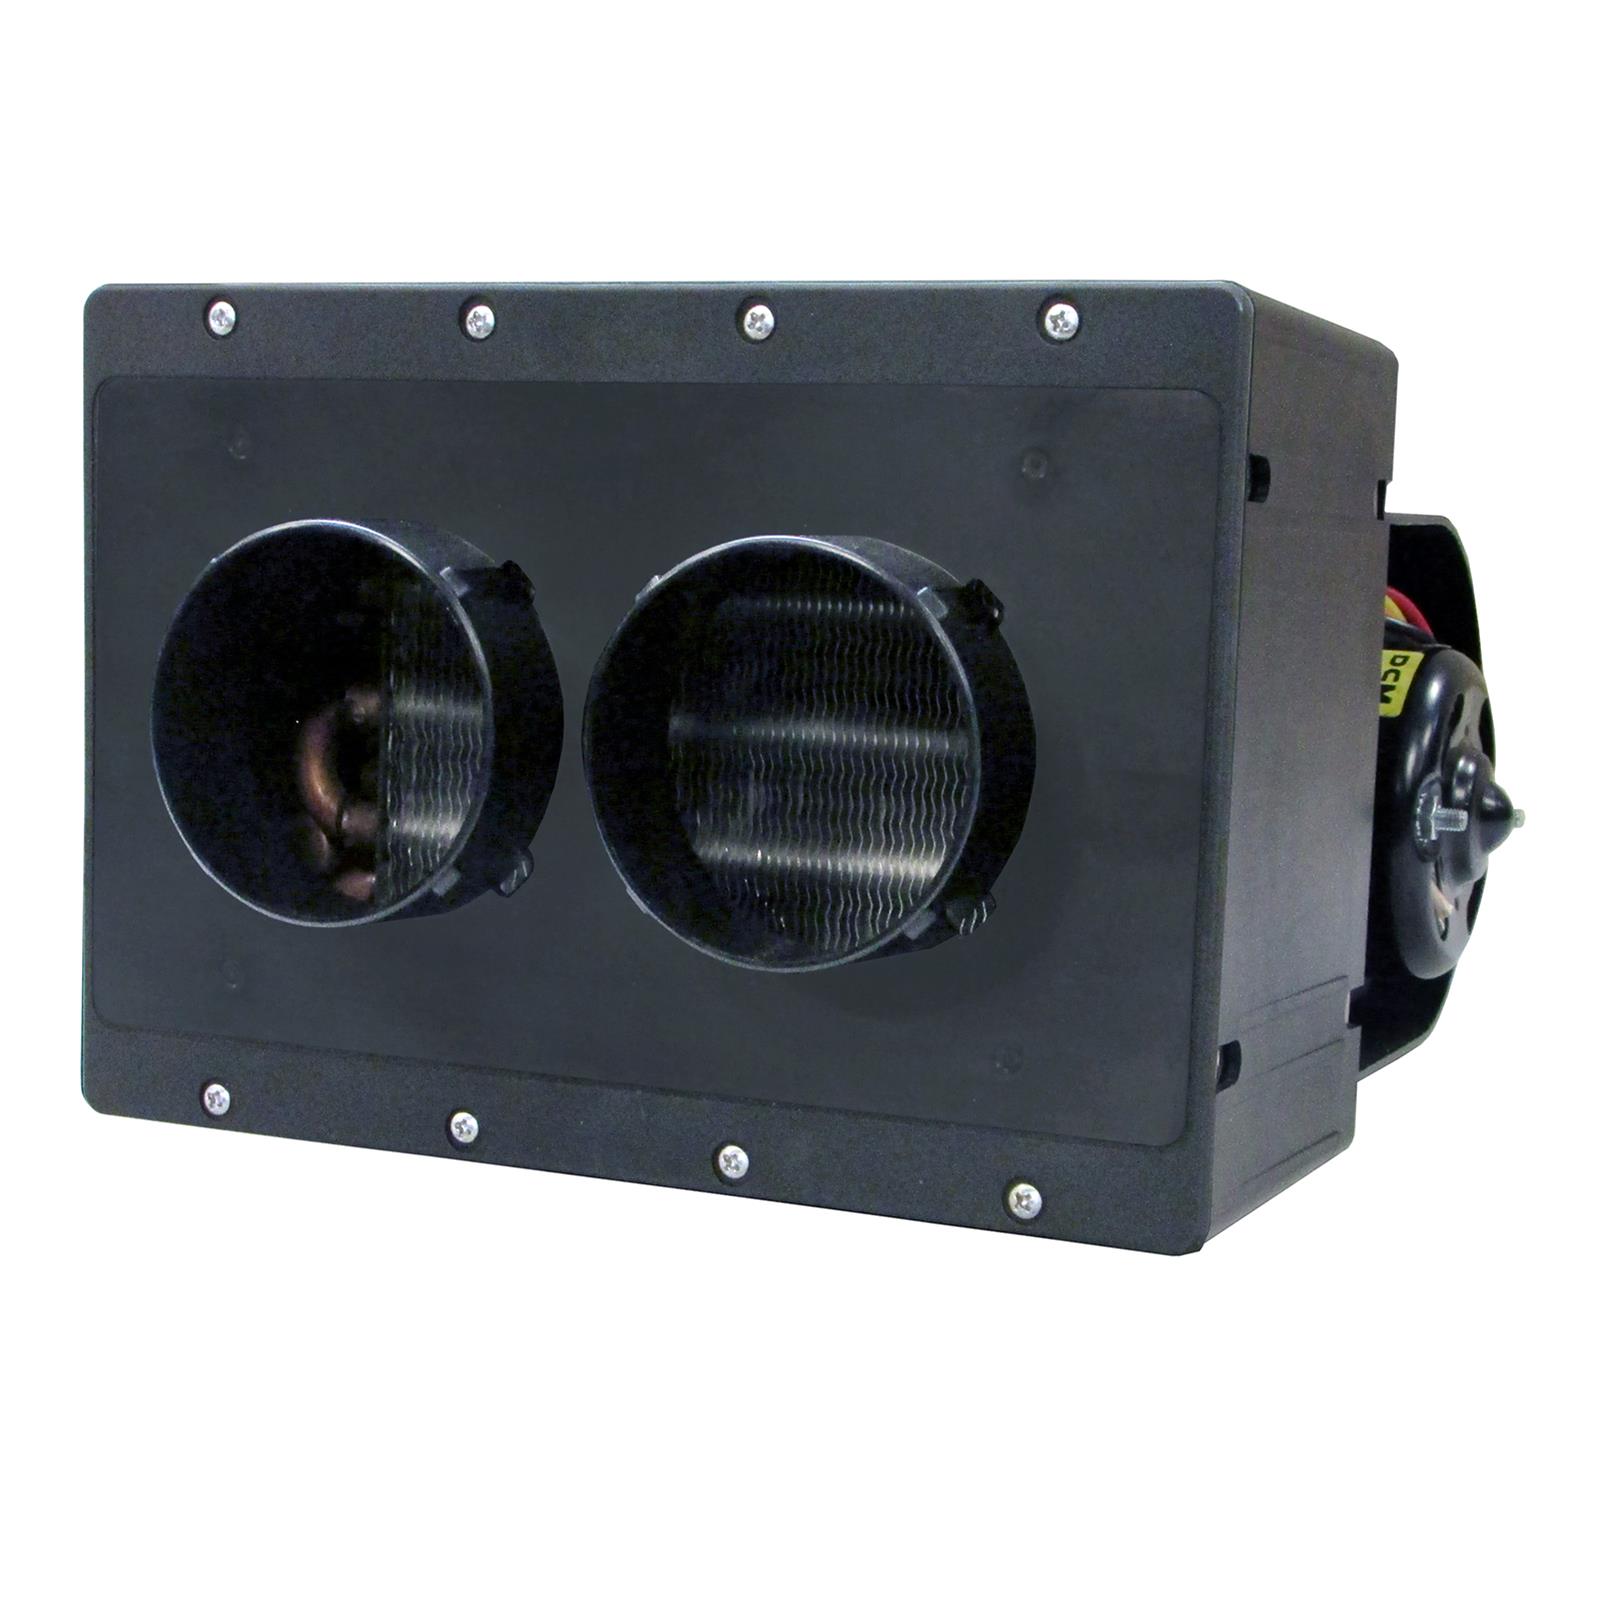
The main components are a marine water heater like the Isotherm Spa or a Shure-Just Horizon 20 liter tank, a Chinese Webasto Thermo Top knockoff and some sort of fan-blown radiator for heat in the camper. The tank will live in a front corner of the bed, the heater underneath the bed and the radiator wherever it fits in the camper. The system will have at least one circulation pump, probably between the engine and the diesel heater, and enough valves to choose what operates or cut-out the auxiliary coolant loop all together.
The parking heater wasn't in my original design, but the price was good enough to risk the added complexity, and if I can add forced-air heating without running the truck, that seems worth the effort of integrating it. Using a water heater instead of the common diesel air heater lets me mount the heater outside, cut smaller holes for the water tubes, and run those to wherever I want to put the tank and blower. It also means those systems can work off engine heat alone even if the heater craps-out.
I plan to tap into the engine coolant loop somewhere along the cab-heater return hose, which seems to be a common takeoff for OEM heat in the back of vans. My hoses are 3/4" there, and I have a number of 3/4" manual and electronic valves and fittings that incline me to stick to that size, though many of the common fittings are 5/8". The domestic water will probably be run in 1/2" or 3/8" PEX, both the hot and cold will be drawn from the same storage tank & pressurized with a 12v. pump. The parking heater will run on diesel or gas, apparently, but I'll probably stick to a dedicated tank instead of tapping into my vehicle gas tank.
View attachment 834193
In the picture above, the thing in the right corner is the OEM heater and the part below it the 12v aux pump. left of that is the heater and the tank and camper heater are not shown.
With the coolant moving clockwise, the tank and forced-air heater will fit after the parking heater, but still in a loop that could be isolated from the engine. I have a few "Tee" valves that should work for this, and If I park for a time and don't care about the engine or cab, I can limit the heating to the back of the truck & the water. If I get a leak or a break, hopefully I can isolate it and keep the truck functional. One can find a "heater bypass" valve assembly that interrupts both legs of the coolant loop, which might be a clean way to segregate the Aux loop.
So, a few sticking points;
Unless I go through the firewall and the cab, the coolant lines to the back have to run really close to the exhaust system, and I'm not totally comfortable snaking heater hose around the cats or along the transmission tunnel... how hot can that get? Can a regular hose withstand that?
I think there's room to fit some 3/4" annealed copper from the engine to behind the transmission for the supply and return, possibly insulated with a high-temp fiberglass wrap. I'm not totally confidant in my soldering skills, so I will probably use flare fittings I can torque down to resist shocks and vibrations, is there a better way I haven't considered?
Is it worth having a powered valve to close in an emergency if something in the system gets damaged or leaks?
I'm just basically hoping that the 3/4" tubing and supplied pump will overcome the friction losses from the tank, heater and all the various fittings. Costs dictate I limit the number of valves and fittings, but is there a better method for designing circulation loops? I'm guessing the pump capacity and duty-cycle are the most significant factors...
Lastly, the control functions of the heater are limiting, because the Germans who designed it had a different use in mind. The heater basically circulates for at least 10 minutes and up to an hour, because the object was to preheat the engine and cab, not a living area. Apparently the run-time is also bounded by a low temp of 140ºF (60ºC) and a high of 212º F (78ºC), it isn't clear if time or temp overrides one or the other, I'm hoping it's the temp.
If that's the case and I want to prolong the cycle by having the return water cooler than 140º, is it worth using a second pump to move the coolant through the vehicle radiator when the engine is off to bleed the excess heat after it has been through the water tank and forced-air heater?
Thanks for getting this far, any input is appreciated, there's a ton I've learned from this place already.
I'm gathering parts and hoping to make a solid plan before I cut into my coolant lines. If I can make it work, I'd like to add a radiator/blower type heater for the camper to the coolant loop as well. This will be permanently under and in the bed of my pickup, so it will need to survive being in the snow and altitude in winter, and functional then would be even better.
I have a few questions and am open to design suggestions-- getting this working on the first go would be ideal.
I have been building and tinkering my whole life, and 15 years with this truck in particular, so there's a fair chance that could be possible.
The main components are a marine water heater like the Isotherm Spa or a Shure-Just Horizon 20 liter tank, a Chinese Webasto Thermo Top knockoff and some sort of fan-blown radiator for heat in the camper. The tank will live in a front corner of the bed, the heater underneath the bed and the radiator wherever it fits in the camper. The system will have at least one circulation pump, probably between the engine and the diesel heater, and enough valves to choose what operates or cut-out the auxiliary coolant loop all together.
The parking heater wasn't in my original design, but the price was good enough to risk the added complexity, and if I can add forced-air heating without running the truck, that seems worth the effort of integrating it. Using a water heater instead of the common diesel air heater lets me mount the heater outside, cut smaller holes for the water tubes, and run those to wherever I want to put the tank and blower. It also means those systems can work off engine heat alone even if the heater craps-out.
I plan to tap into the engine coolant loop somewhere along the cab-heater return hose, which seems to be a common takeoff for OEM heat in the back of vans. My hoses are 3/4" there, and I have a number of 3/4" manual and electronic valves and fittings that incline me to stick to that size, though many of the common fittings are 5/8". The domestic water will probably be run in 1/2" or 3/8" PEX, both the hot and cold will be drawn from the same storage tank & pressurized with a 12v. pump. The parking heater will run on diesel or gas, apparently, but I'll probably stick to a dedicated tank instead of tapping into my vehicle gas tank.
View attachment 834193
In the picture above, the thing in the right corner is the OEM heater and the part below it the 12v aux pump. left of that is the heater and the tank and camper heater are not shown.
With the coolant moving clockwise, the tank and forced-air heater will fit after the parking heater, but still in a loop that could be isolated from the engine. I have a few "Tee" valves that should work for this, and If I park for a time and don't care about the engine or cab, I can limit the heating to the back of the truck & the water. If I get a leak or a break, hopefully I can isolate it and keep the truck functional. One can find a "heater bypass" valve assembly that interrupts both legs of the coolant loop, which might be a clean way to segregate the Aux loop.
So, a few sticking points;
Unless I go through the firewall and the cab, the coolant lines to the back have to run really close to the exhaust system, and I'm not totally comfortable snaking heater hose around the cats or along the transmission tunnel... how hot can that get? Can a regular hose withstand that?
I think there's room to fit some 3/4" annealed copper from the engine to behind the transmission for the supply and return, possibly insulated with a high-temp fiberglass wrap. I'm not totally confidant in my soldering skills, so I will probably use flare fittings I can torque down to resist shocks and vibrations, is there a better way I haven't considered?
Is it worth having a powered valve to close in an emergency if something in the system gets damaged or leaks?
I'm just basically hoping that the 3/4" tubing and supplied pump will overcome the friction losses from the tank, heater and all the various fittings. Costs dictate I limit the number of valves and fittings, but is there a better method for designing circulation loops? I'm guessing the pump capacity and duty-cycle are the most significant factors...
Lastly, the control functions of the heater are limiting, because the Germans who designed it had a different use in mind. The heater basically circulates for at least 10 minutes and up to an hour, because the object was to preheat the engine and cab, not a living area. Apparently the run-time is also bounded by a low temp of 140ºF (60ºC) and a high of 212º F (78ºC), it isn't clear if time or temp overrides one or the other, I'm hoping it's the temp.
If that's the case and I want to prolong the cycle by having the return water cooler than 140º, is it worth using a second pump to move the coolant through the vehicle radiator when the engine is off to bleed the excess heat after it has been through the water tank and forced-air heater?
Thanks for getting this far, any input is appreciated, there's a ton I've learned from this place already.


