Things have been busy in Boomerville...
First, with the upcoming adventure with
Mountain State Overland, one of the (many) perks of being involved is the swag.
Not to gloat, but this most recent care package was pretty over the top.
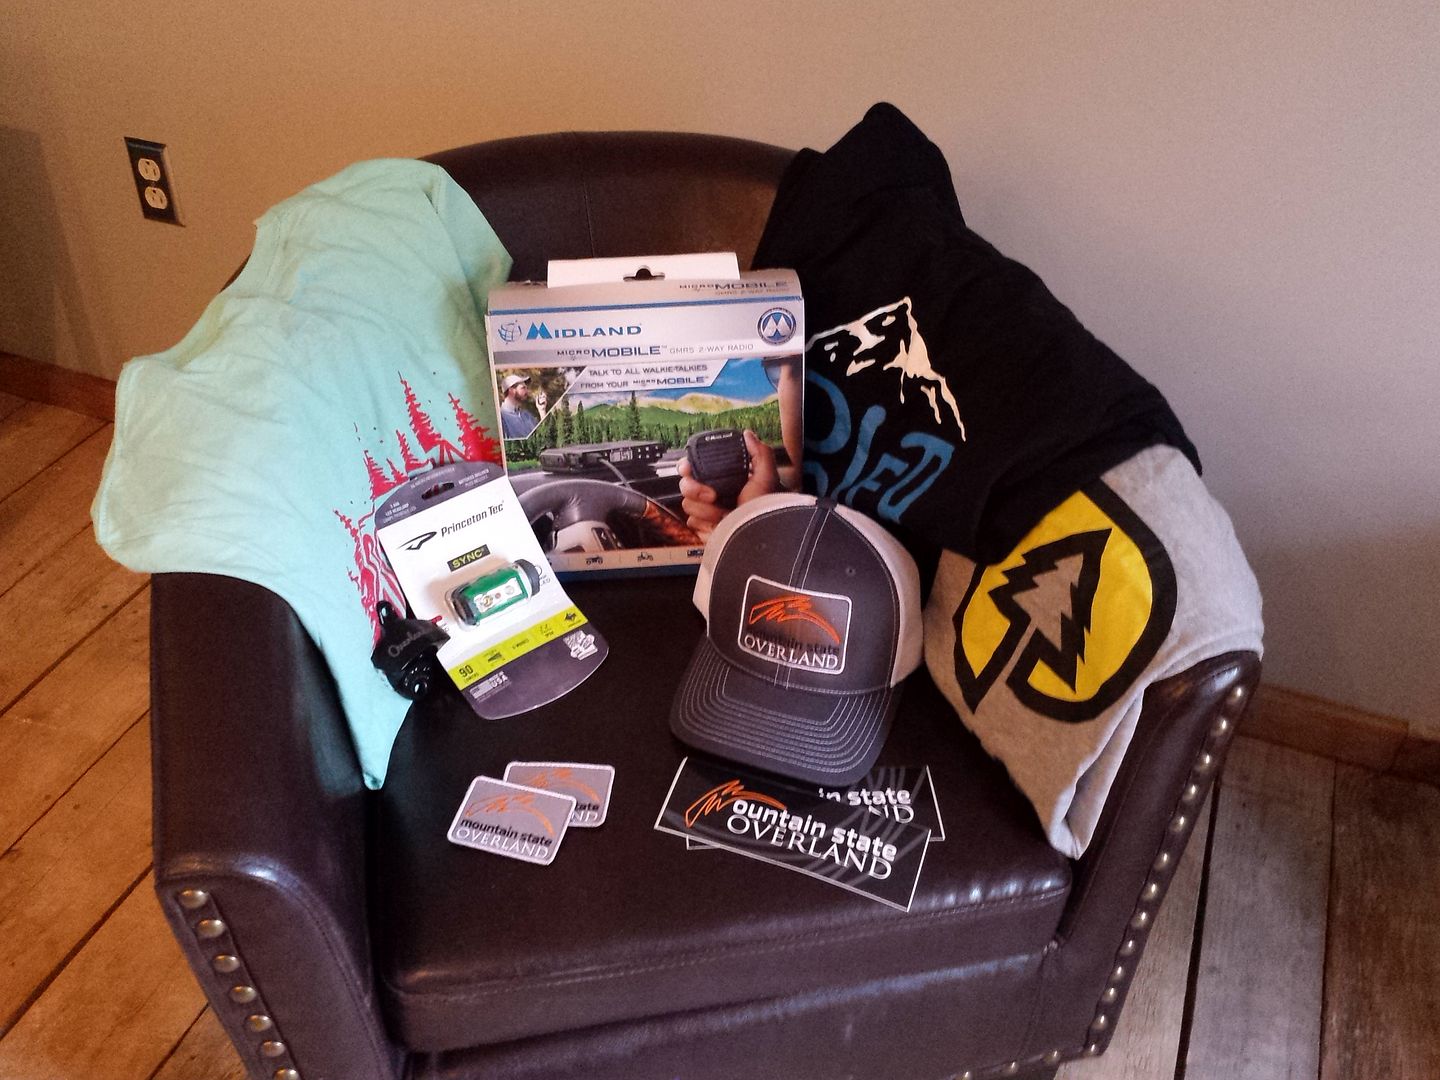
Lots of stuff from
Papa Wolf Supply,
Polar Outdoors and
Midland Communications, all sponsors of
Season 3.
The Midland radio is a unit I'm going to try out during the trip. It is a
Micro Mobile MXT100 in-cab GMRS 5W unit which is supposedly more capable for range than a CB. I'm swapping over my HAM radio antenna for the appropriately tuned unit, all easy with the NMO antenna mounts I installed last year. The guys at MSO aren't quite up to speed yet with HAM equipment, so these will be the units of choice. I'll report how I feel about the rig after the trip, as it might be a nice compromise between the spotty/terrible CB and the exclusive HAM sets.
With the spotty weather, I've been trying to keep forward momentum on the front window delete, but between rain showers it was time to start digging into the roof rack.
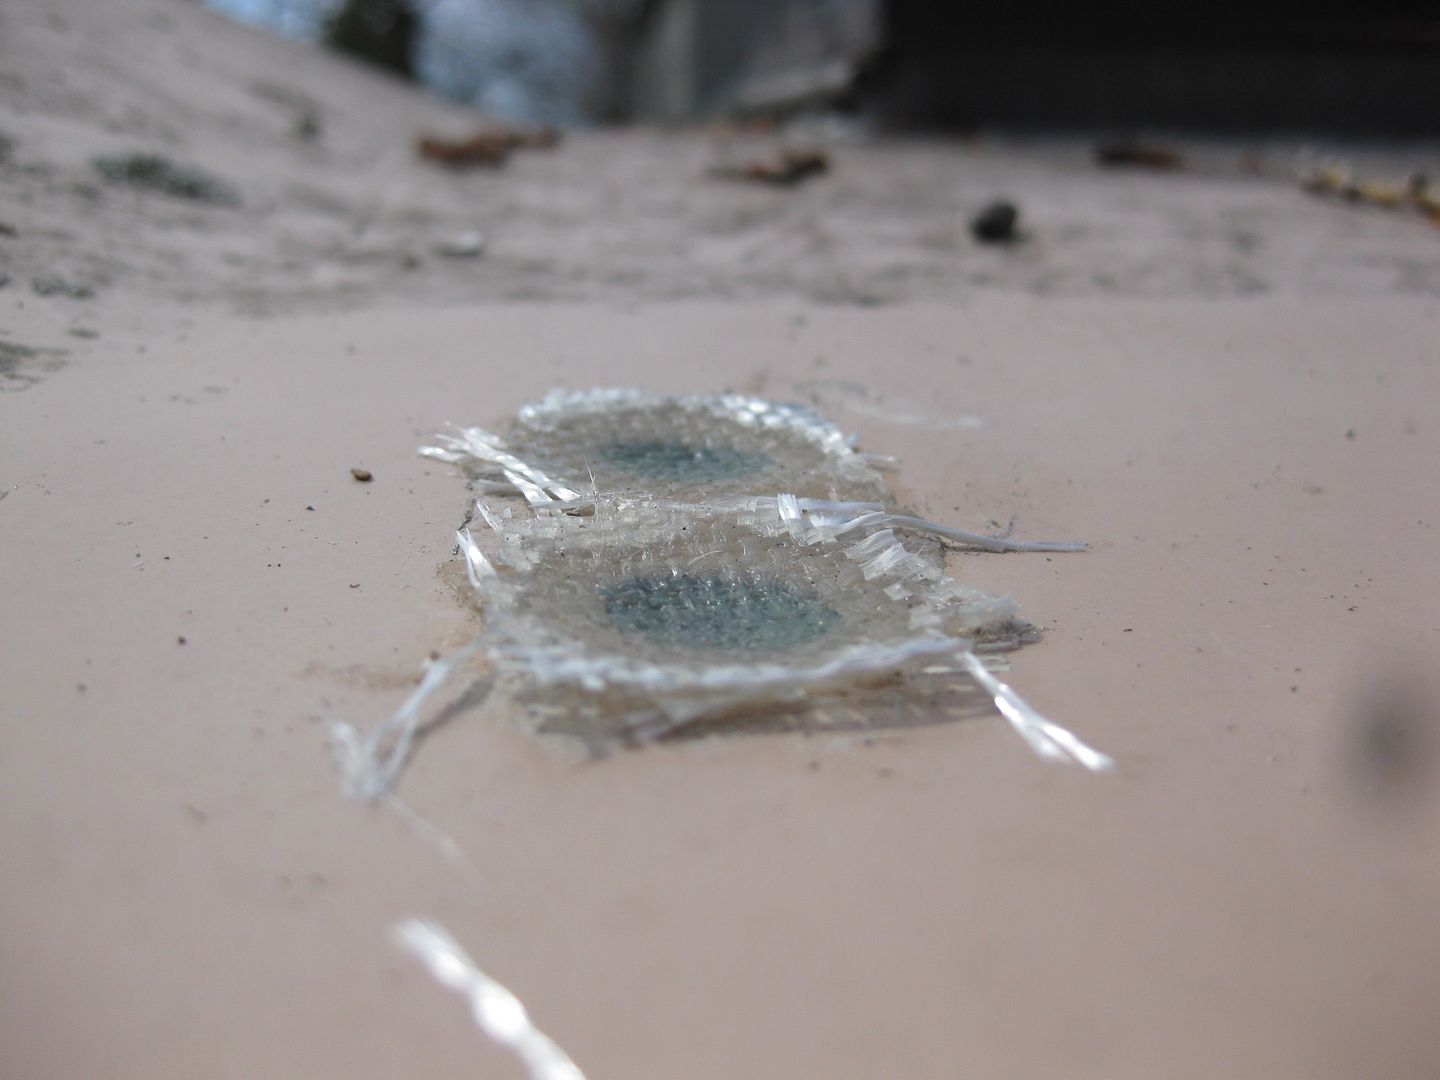
First the old rack needed to be removed. All the holes, both from rack removal as well as from other patches which have been applied over time then needed to be ground out and filled with fiberglass and resin for a permanent repair ahead of painting.
Grimy, Moldy, Mossy Roof. Cleaning Time.
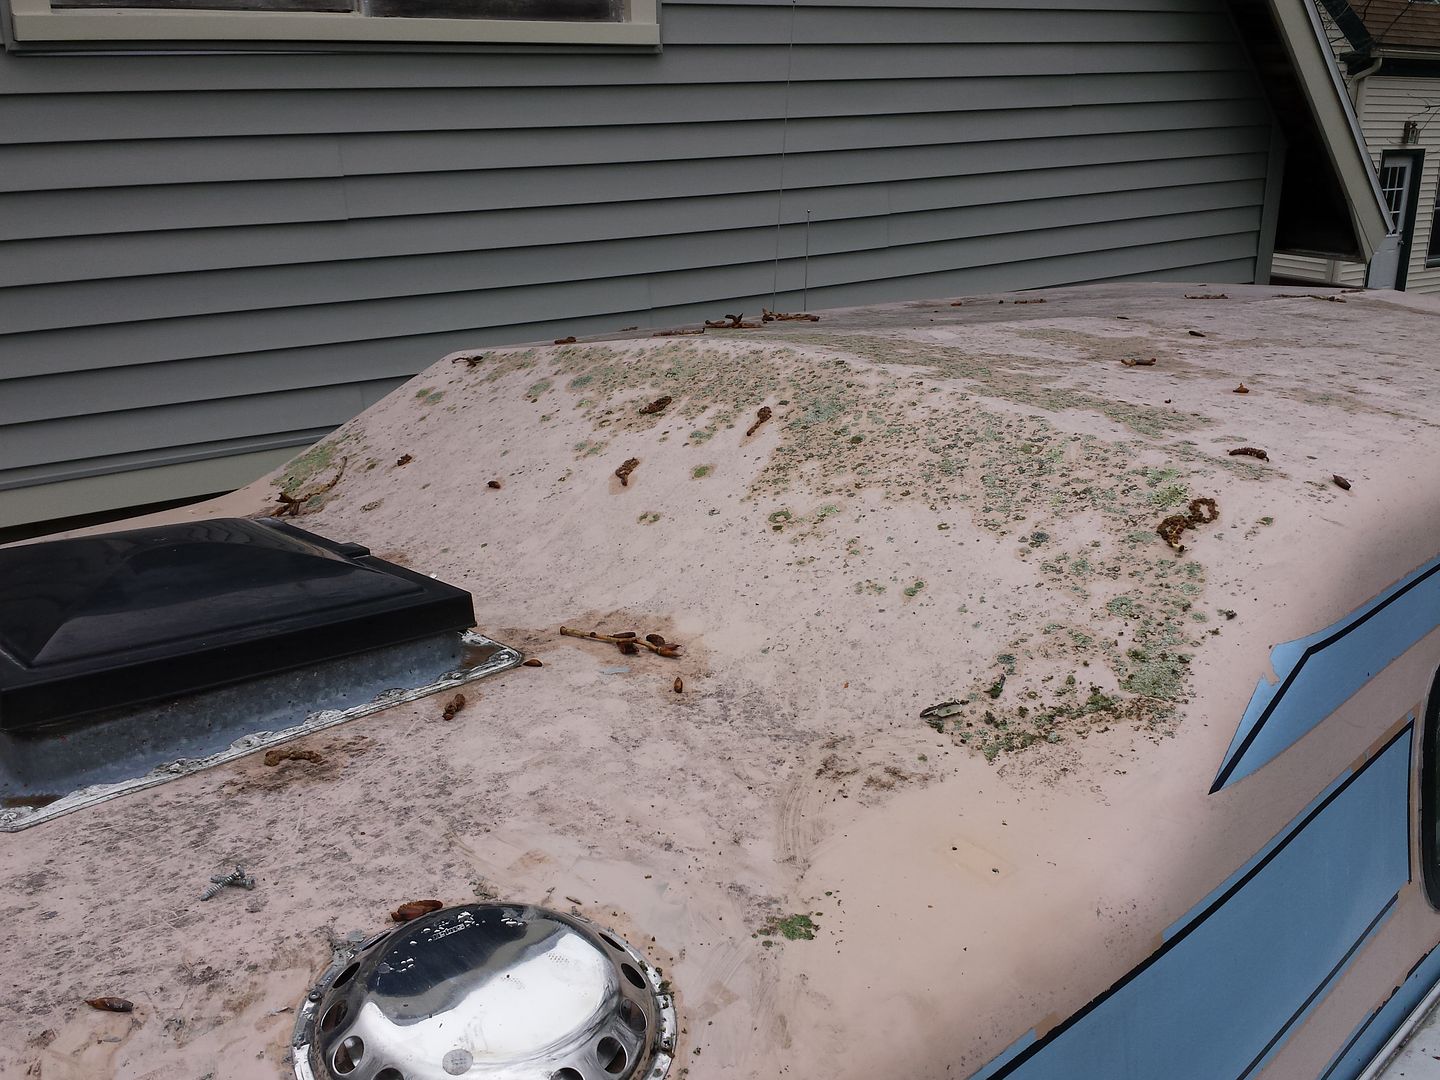
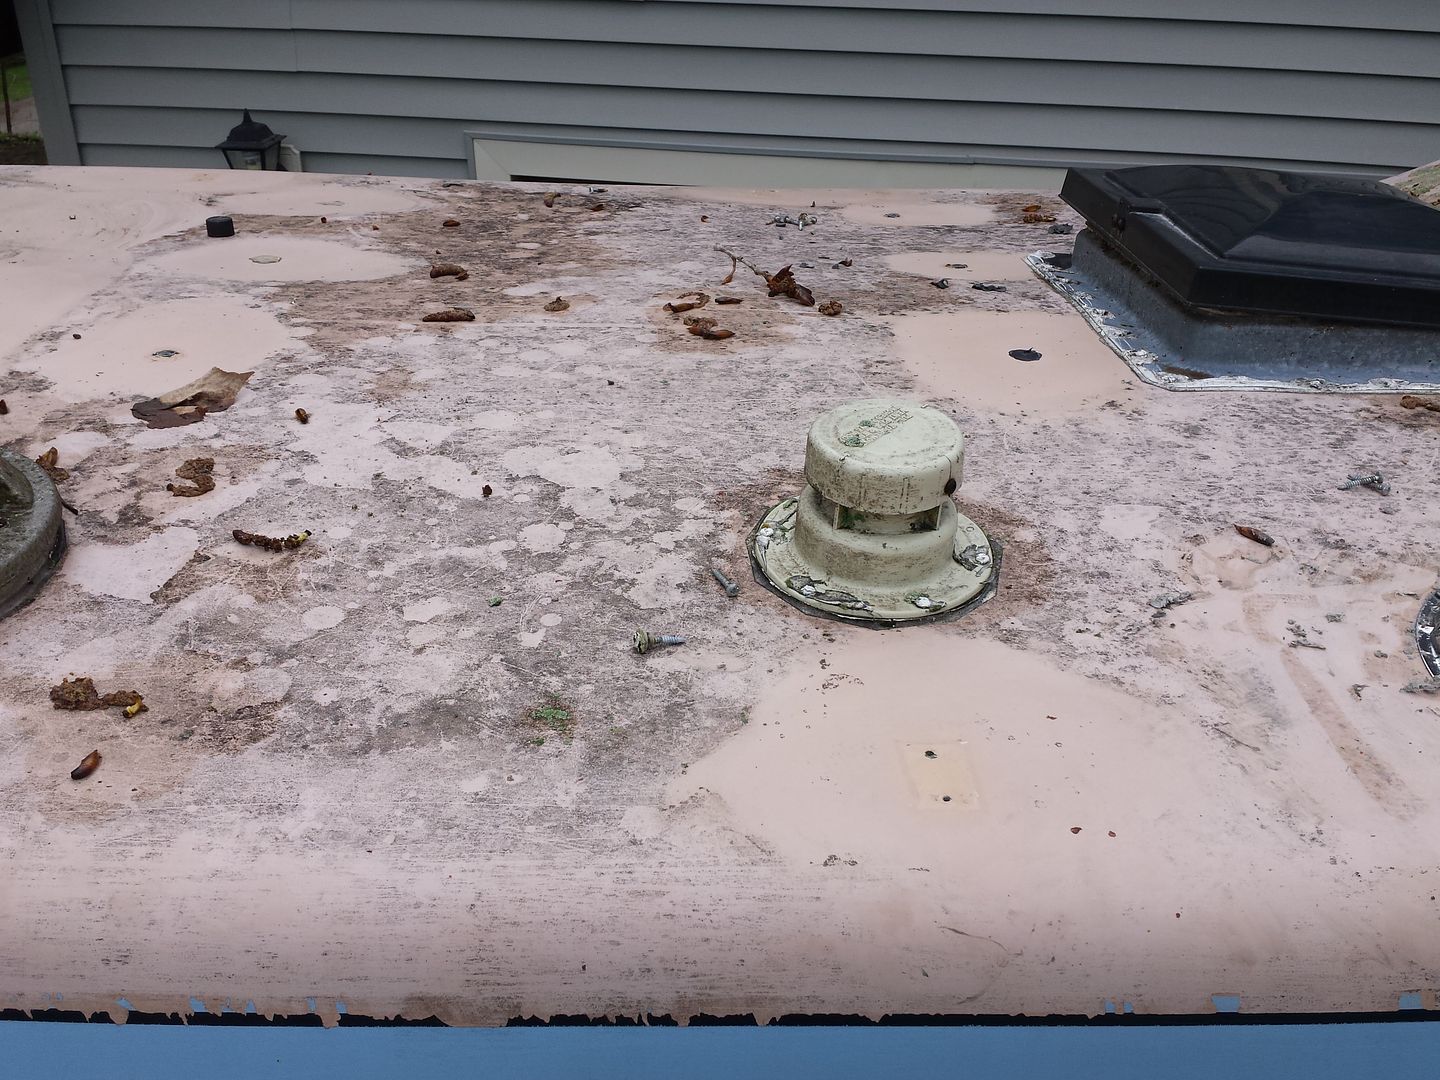
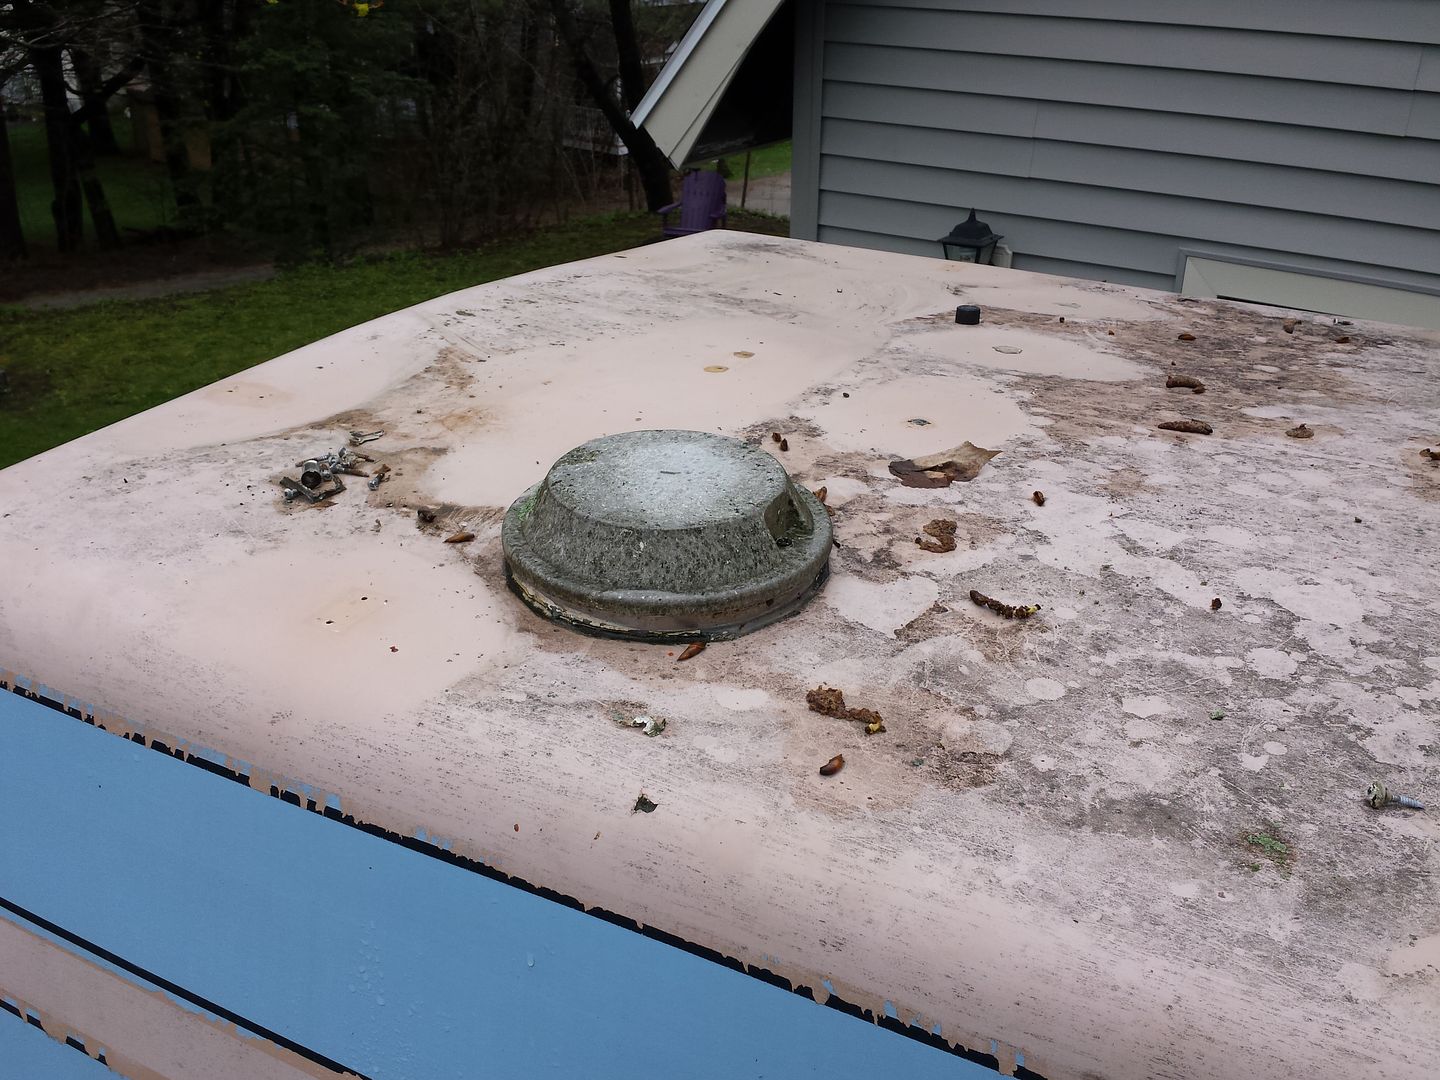
I dished out every hole with a die grinder, then filled each with 3 layers of fiberglass and resin. I need to finish grinding the patches flush and doing any last filling with some bondo.
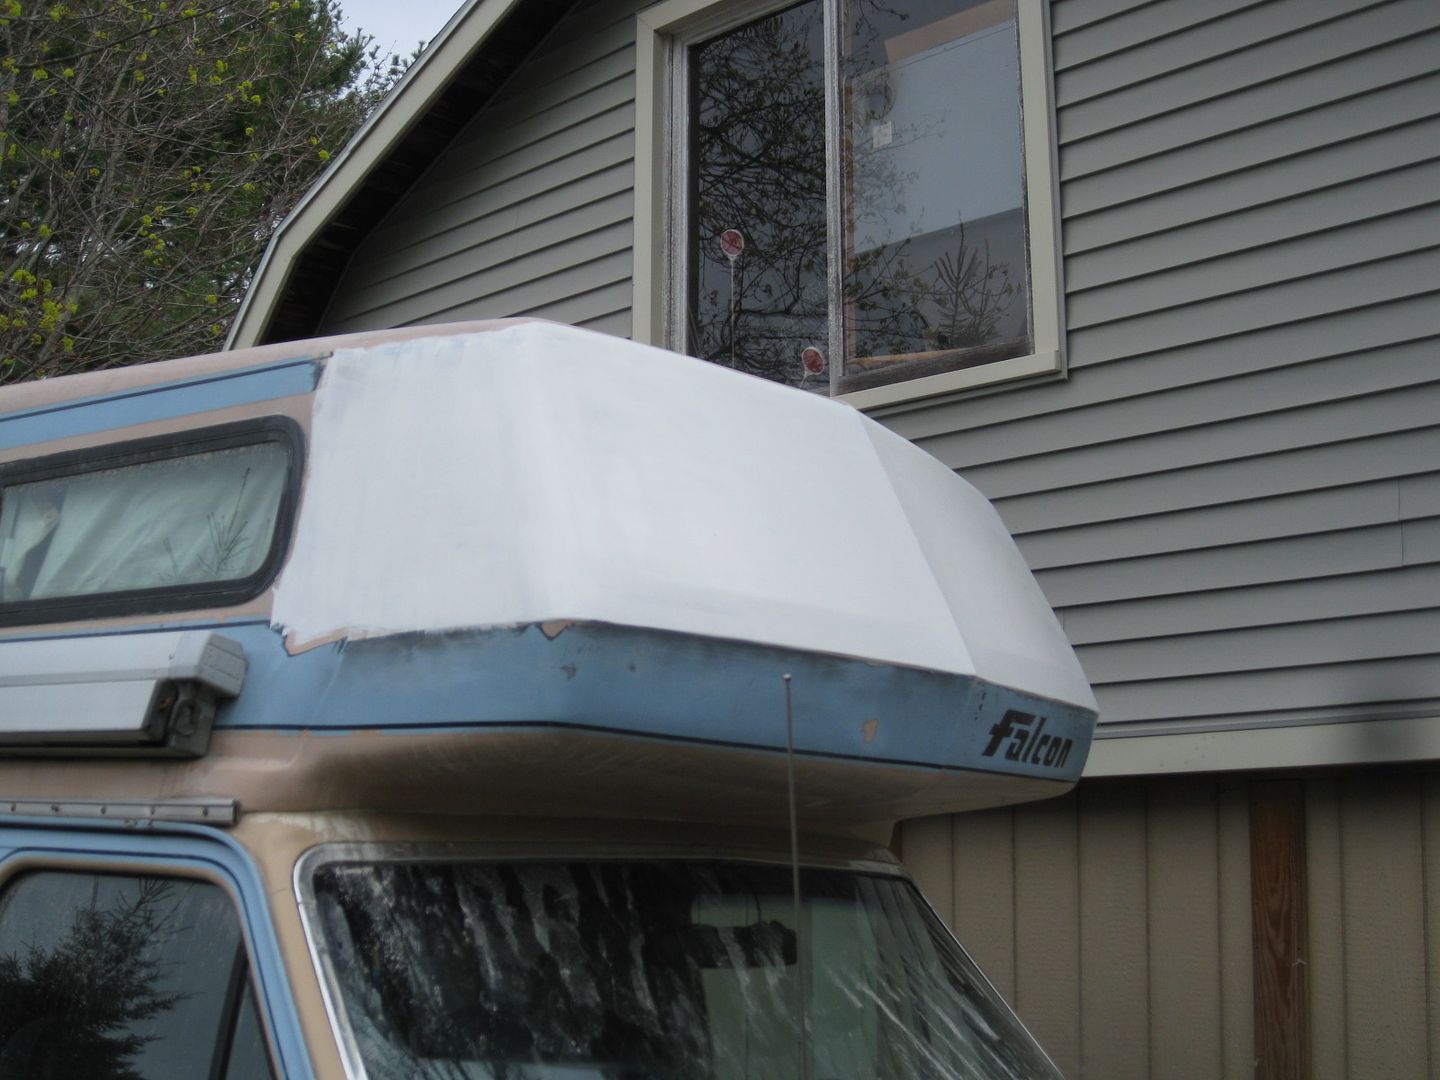
While the rain was holding off, I finished the last of the sanding and filling on the front window delete.
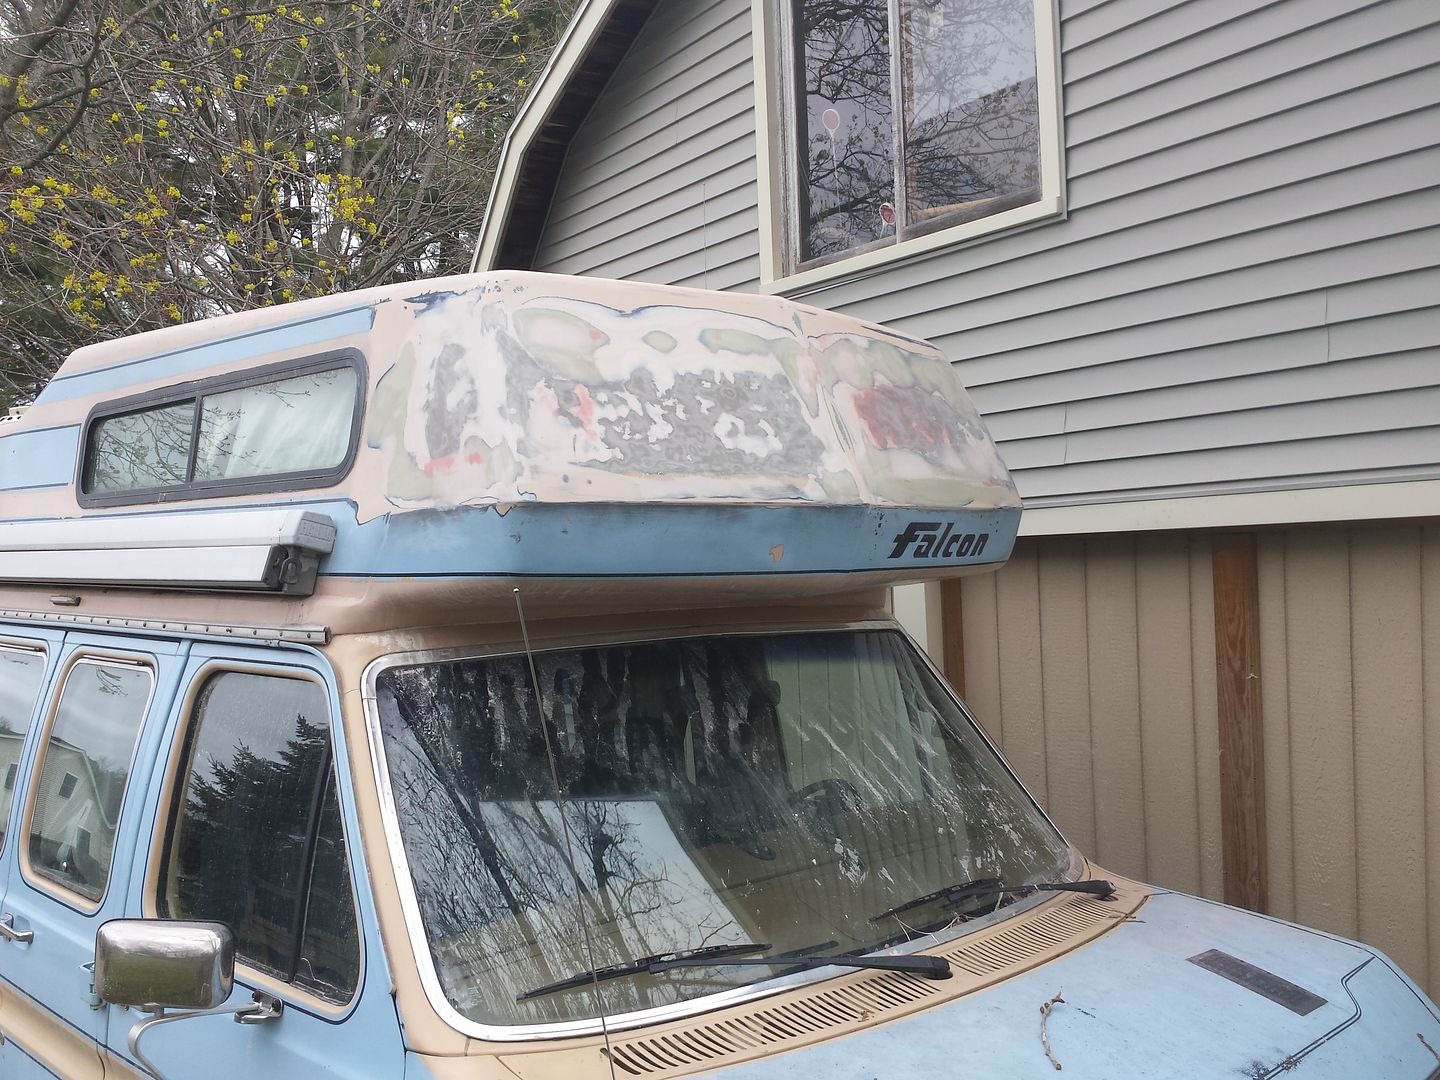
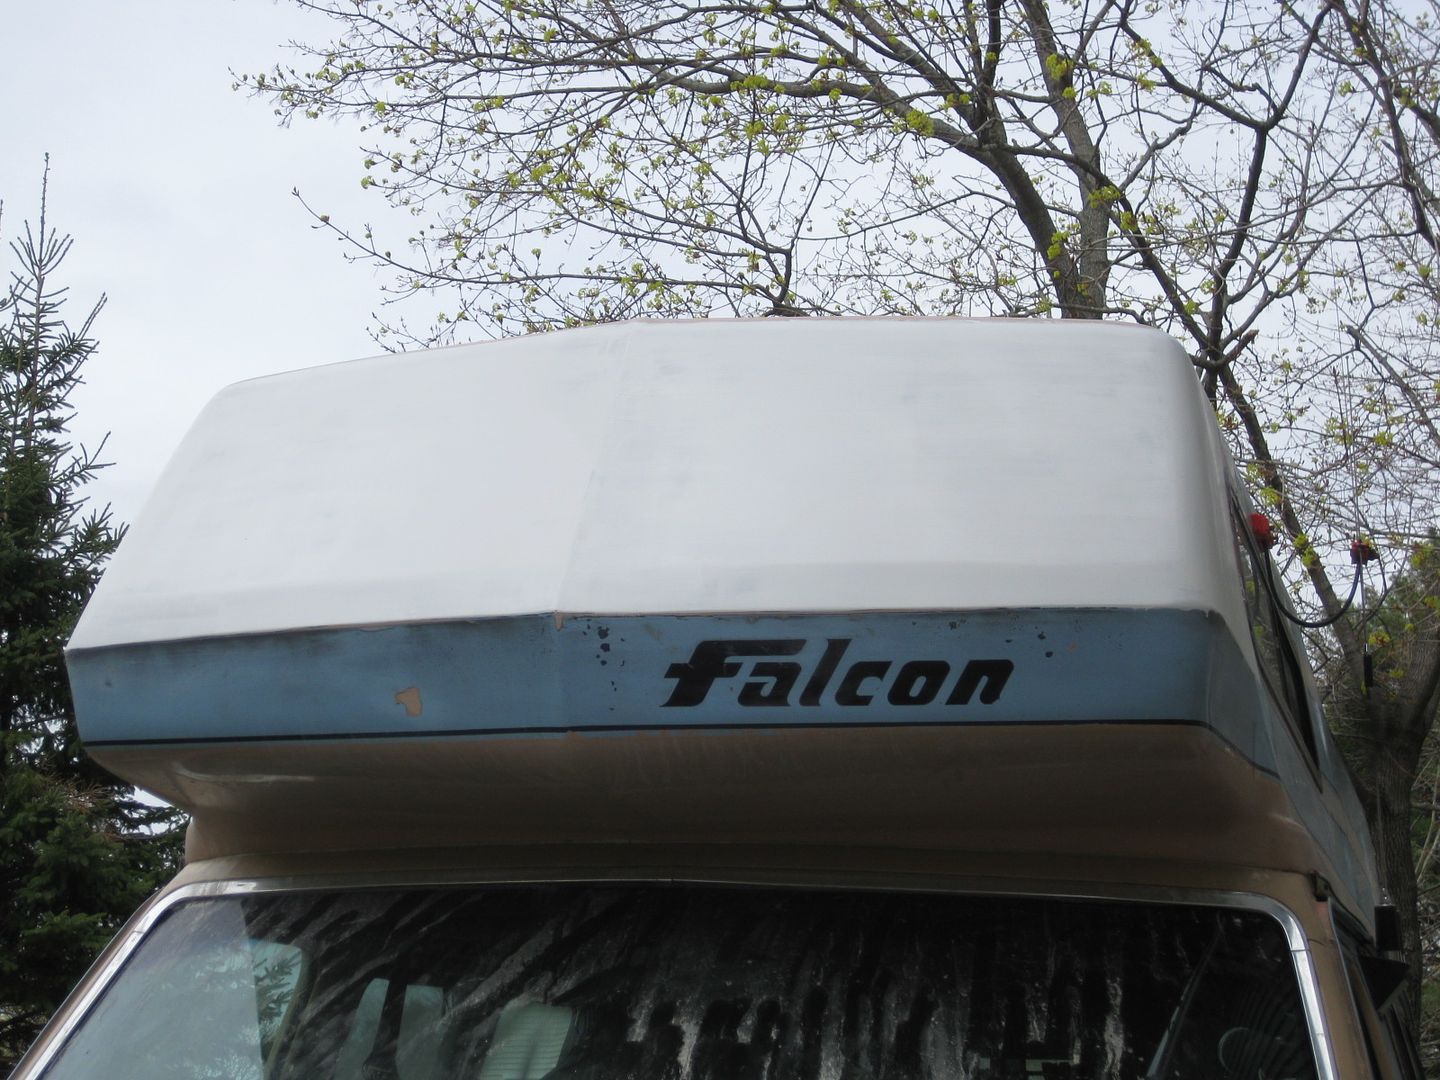
And this morning the first coat of primer was applied. I'm expecting at least 3 coats of primer on the new areas, and then the whole topper will get one coat prior to final paint.
With that finished up, I headed inside for some fun with relearning TIG welding on aluminum.
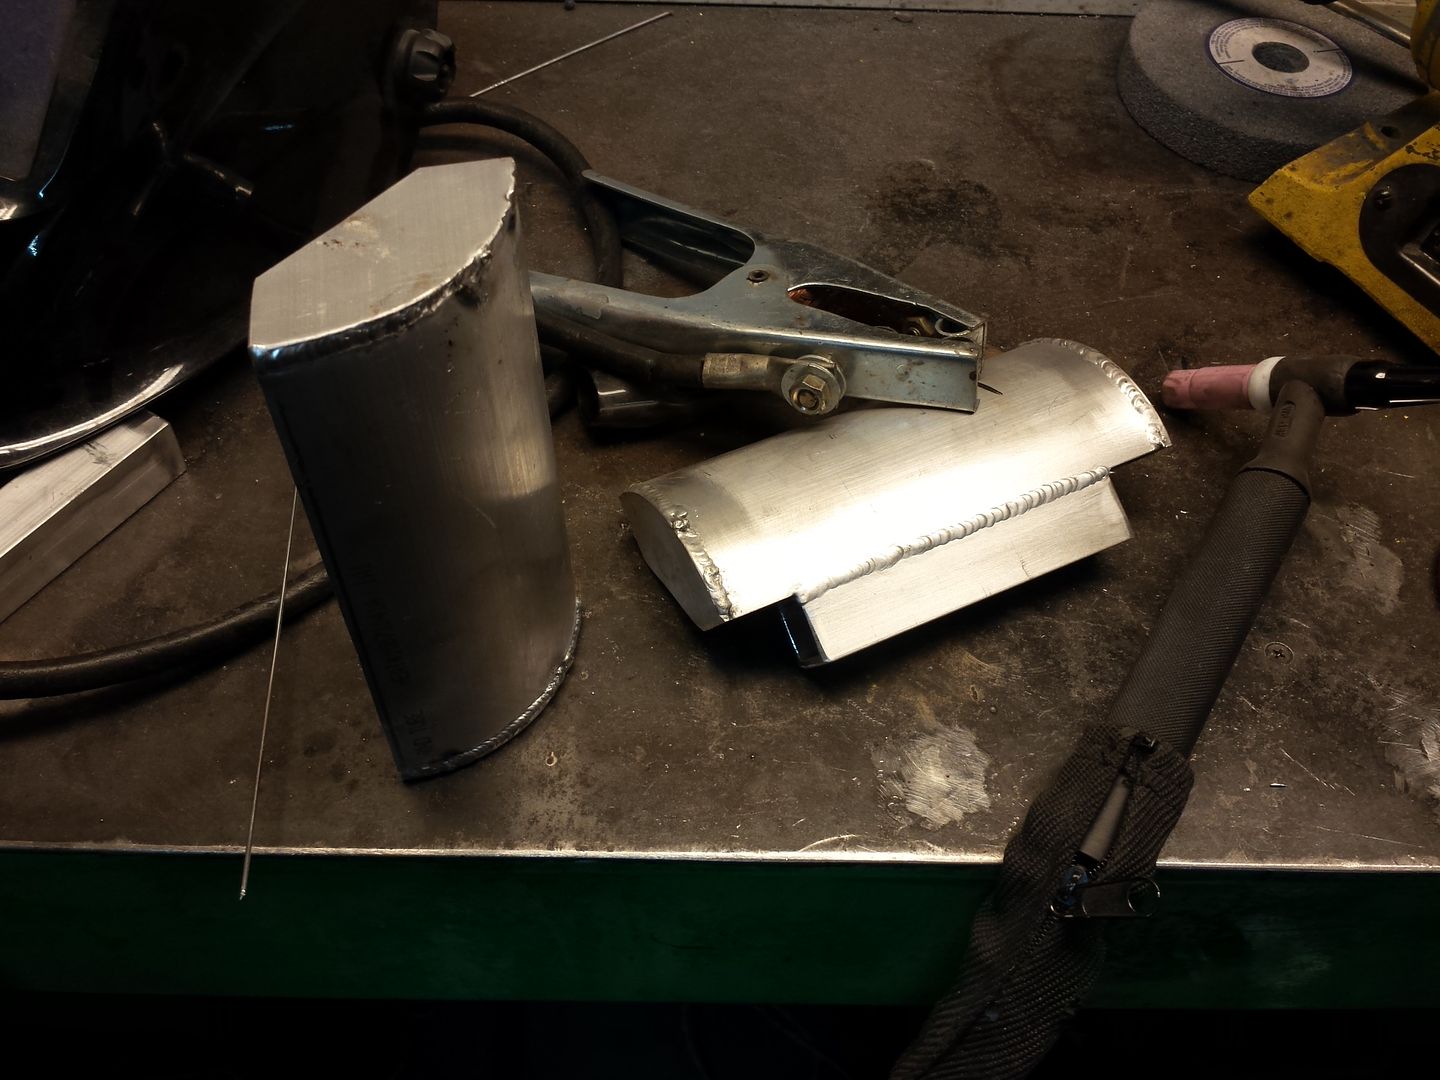
I didn't want to bend the rear corners of the rack tubing since it always looks crappy, and I have 6061-T6 square tube which means it would likely crack anyway.
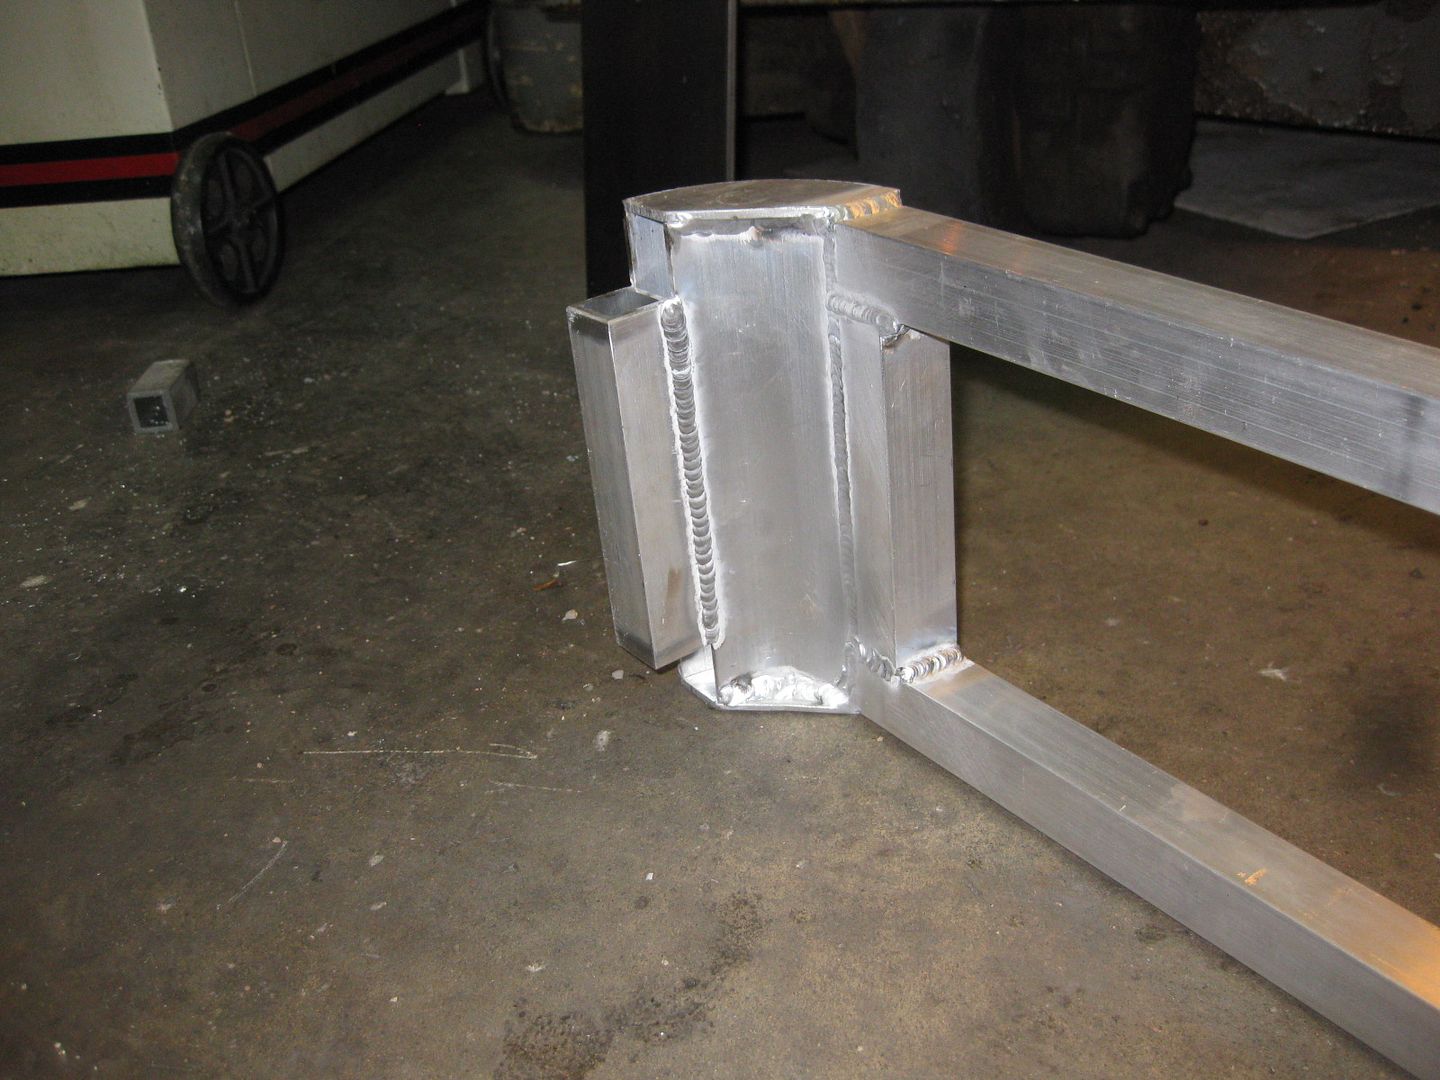
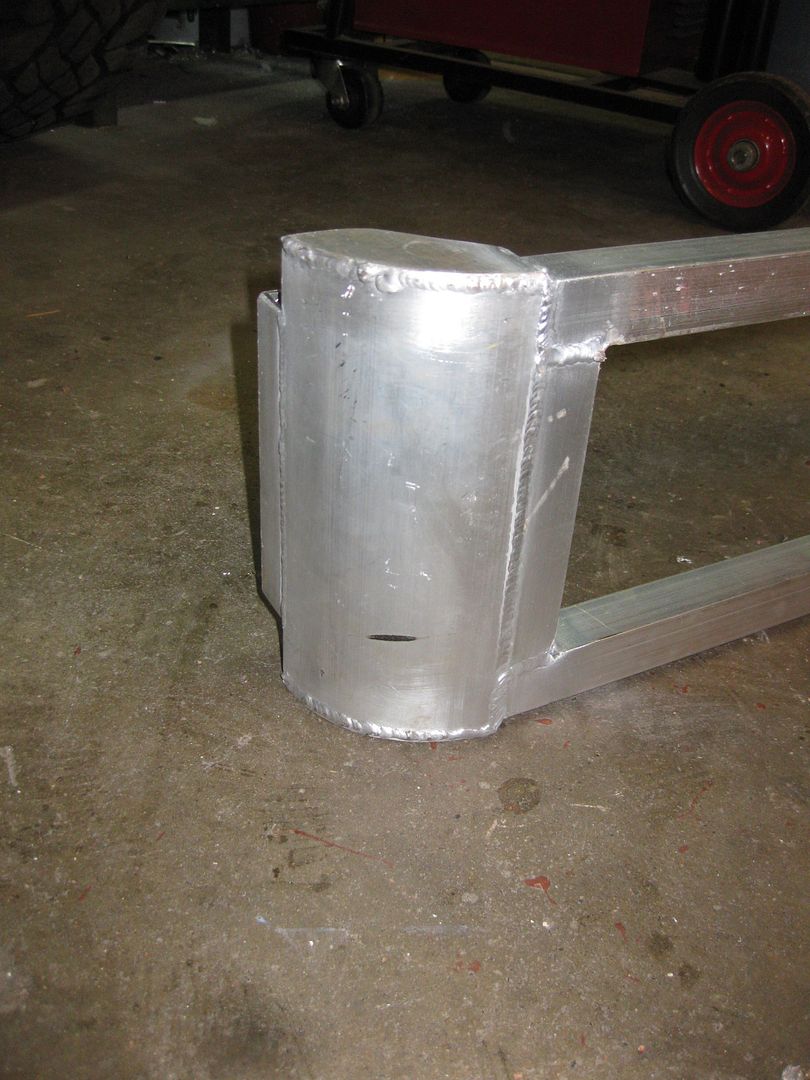
So I started with some 5" OD and 3" OD aluminum 0.125 wall tube and started fabricating corners. The corners were then joined with 1x1x0.125 square tube to form the rear portion of the rack. This is where I'm at so far.

The mounting strategy is hopefully going to be robust. I've got a 6ft section of 4" Sch40 aluminum pipe which I'll split down the center into quarters. Each quarter will be bonded to the upper rounded edge of the topper with 3M 5200 adhesive. I'll have the section both ahead of and behind the "jog" in the roof treated this way, the forward portion being done only to protect the upper edges of the topper from tree strikes which always seem to happen on the trail. The rear 2 sections will have mounting tabs welded to them before I bond them to the roof, then the rack will bolt to those tabs, like 1 tab every 18 inches or so. After I bond the aluminum sections to the top I'll be able to paint the whole top a uniform off-white.
Stay Tuned.
SG


")

