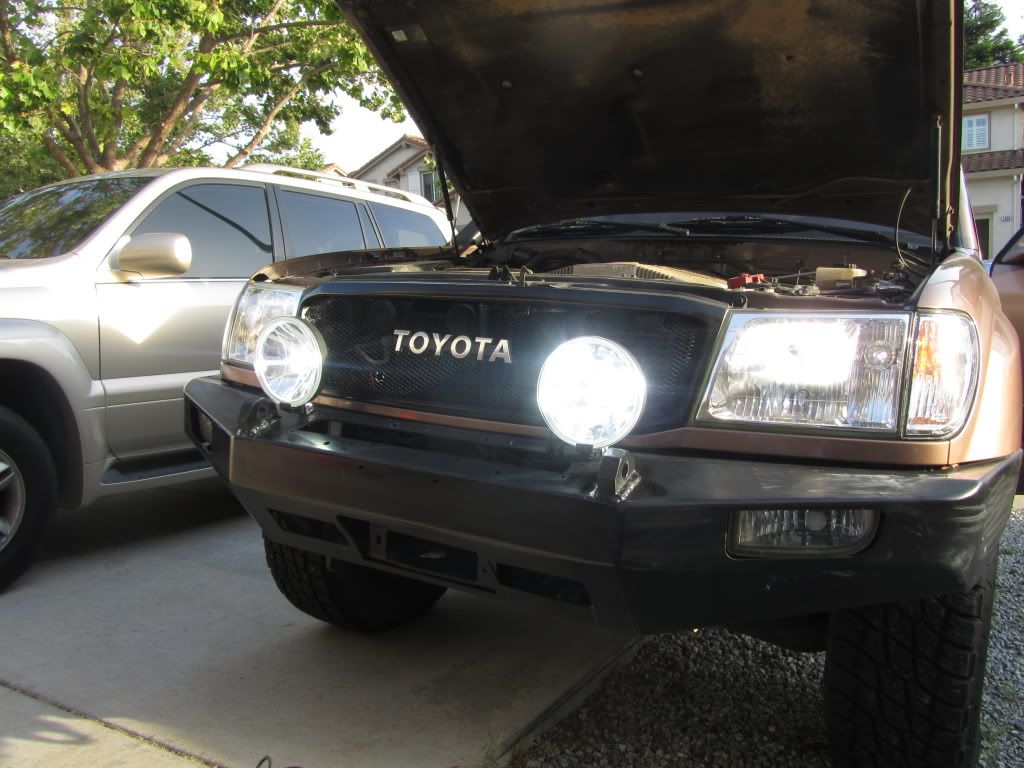
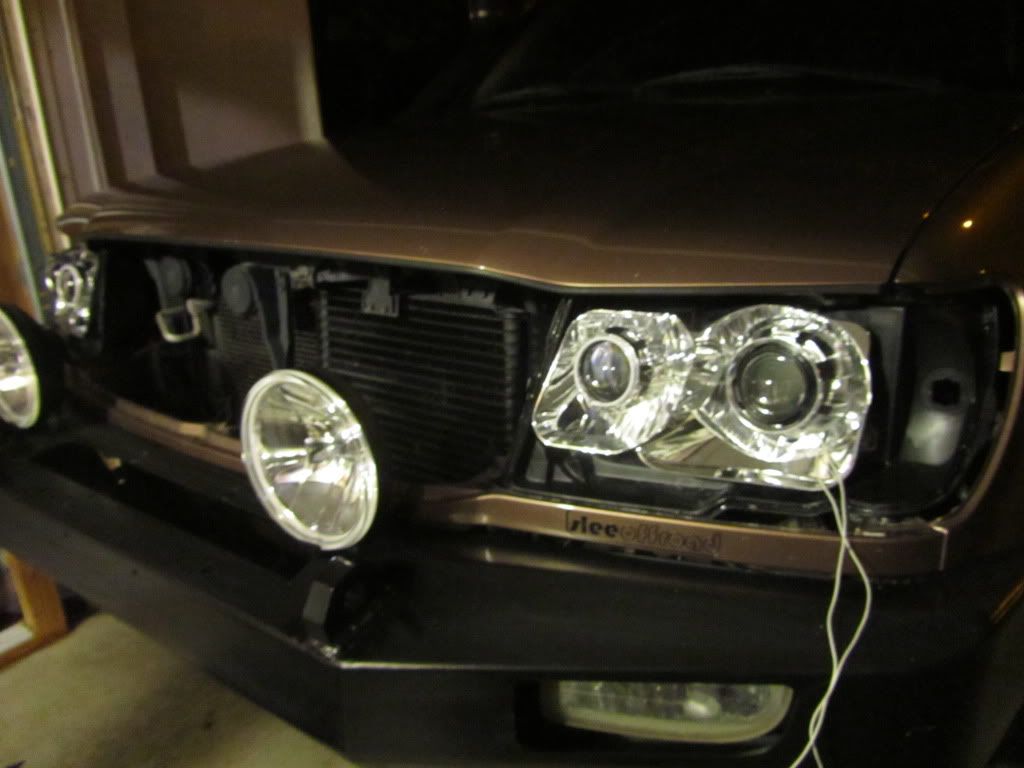
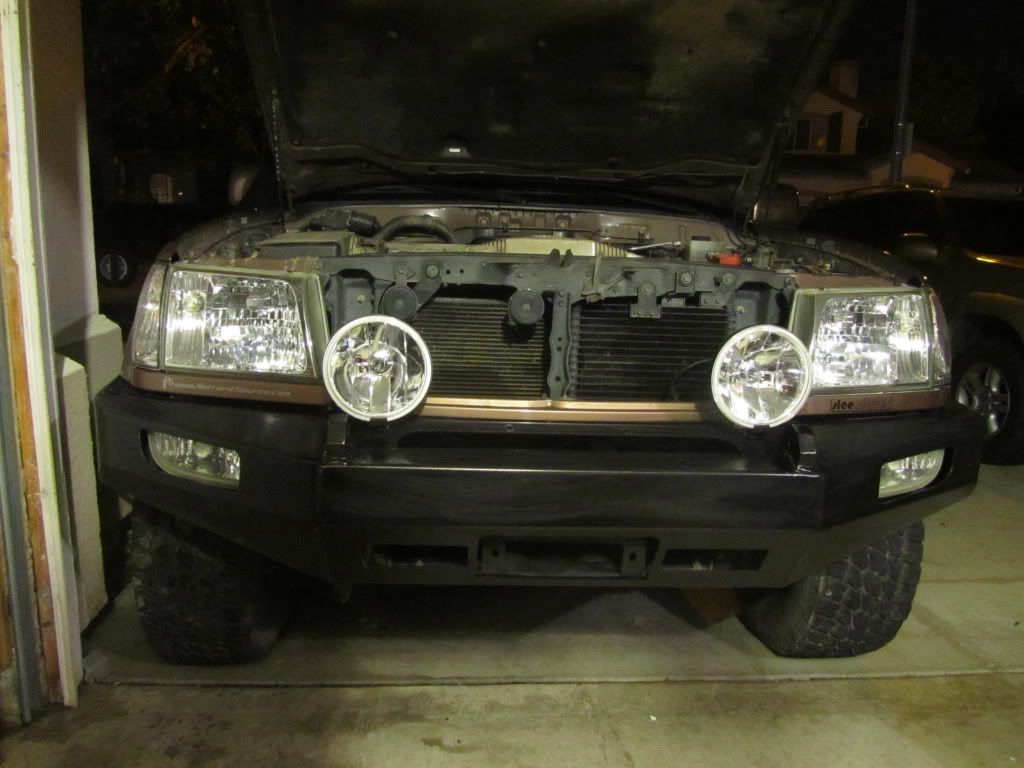
So I finally got around to doing the HID conversion to my hella fog lights. I decided that I do not want those funky switches that clutter the interior. I have a plan for the four fog lights to be powered by the two original wires that connect to the oem fog lights. Not sure about ARB, but I know that this upgrade would be good for those who run the slee and BIOR bumper because they scrap the oem fog lights and you can use the oem wiring to power new fog lights. I did not ground the wire that allows the fogs to be run along with the hi beams but I will address that issue later. I finished two fog lights today and I ordered another harness so I can add the other two next week when I do my projector retrofit

Parts:
1. 4x Hella 700 ff
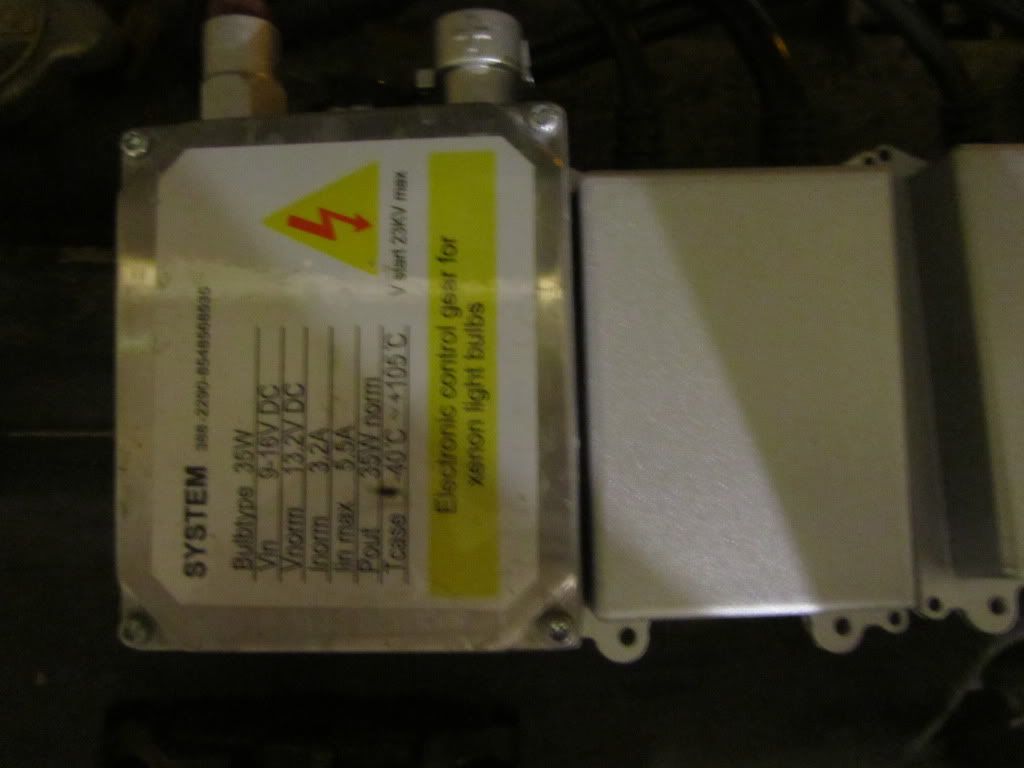
2. 35w 6000k HID kit
3. The retrofit source wiring harness...this type of harness will be convenient...more details soon
So on to the tech portion of this thread
Starting with a CLEAN work station. I am using HELLA 700ff's so taking apart the light may be different based on your headlight...
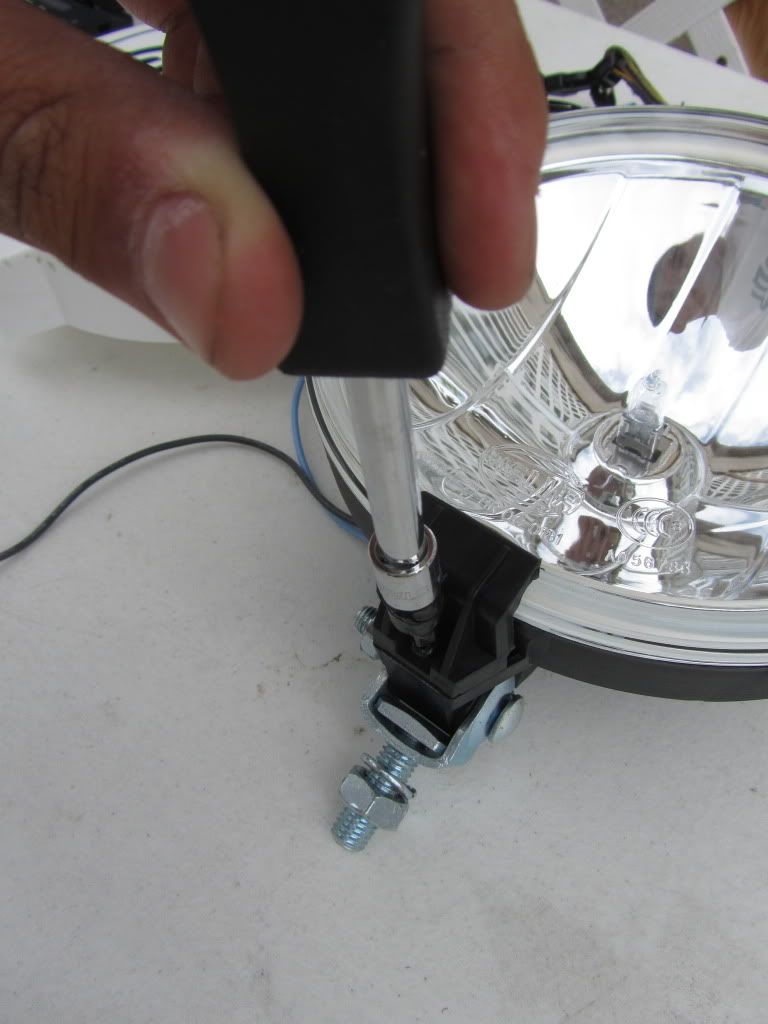
Take apart the housing by unscrewing the screw that is located at the bottom of the housing
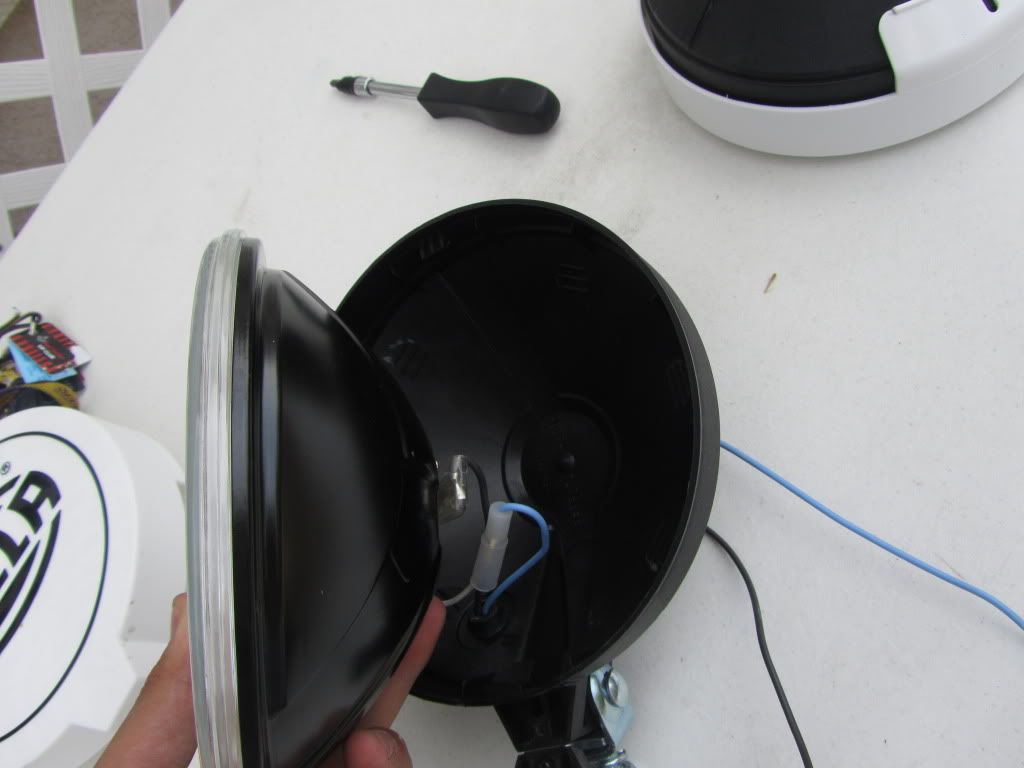
Pry the housing in between the plastic and glass
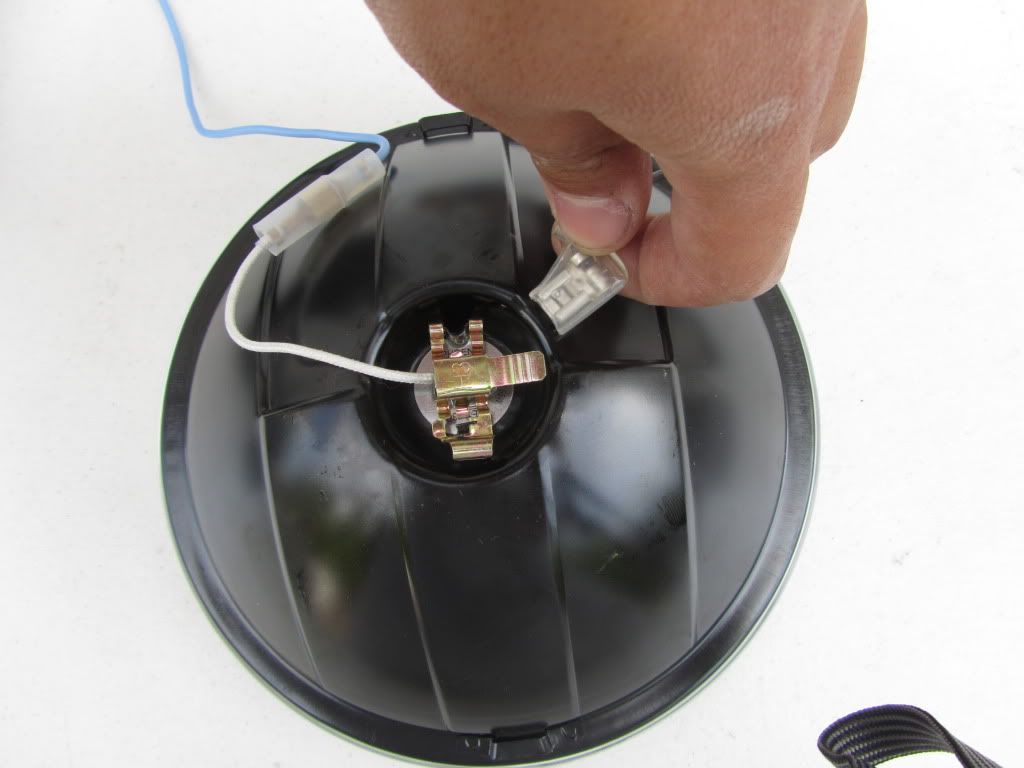
Take out the H3 bulb and unplug all the wiring and mounting positions, including the locking mechanism
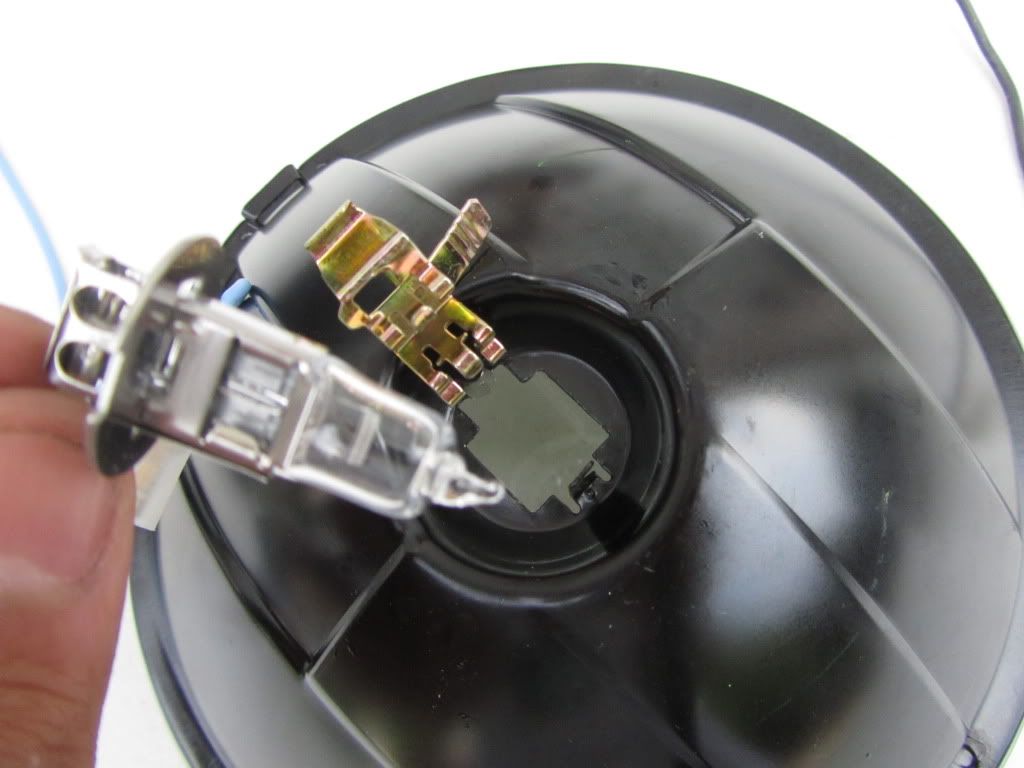
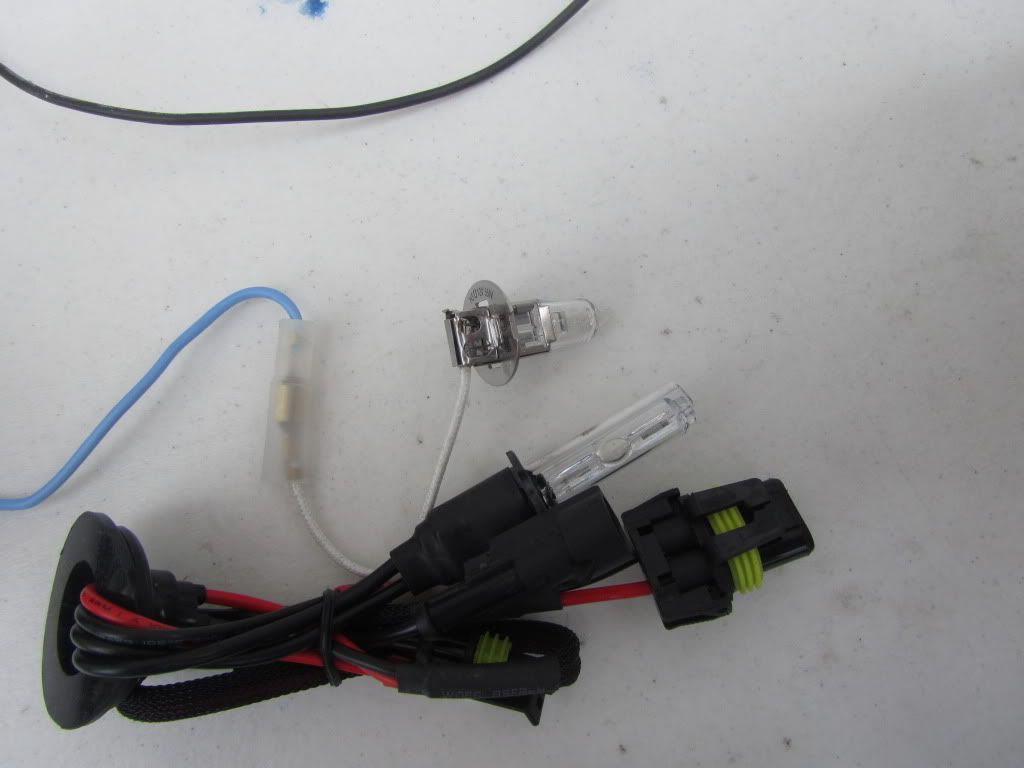
HID vs halogen
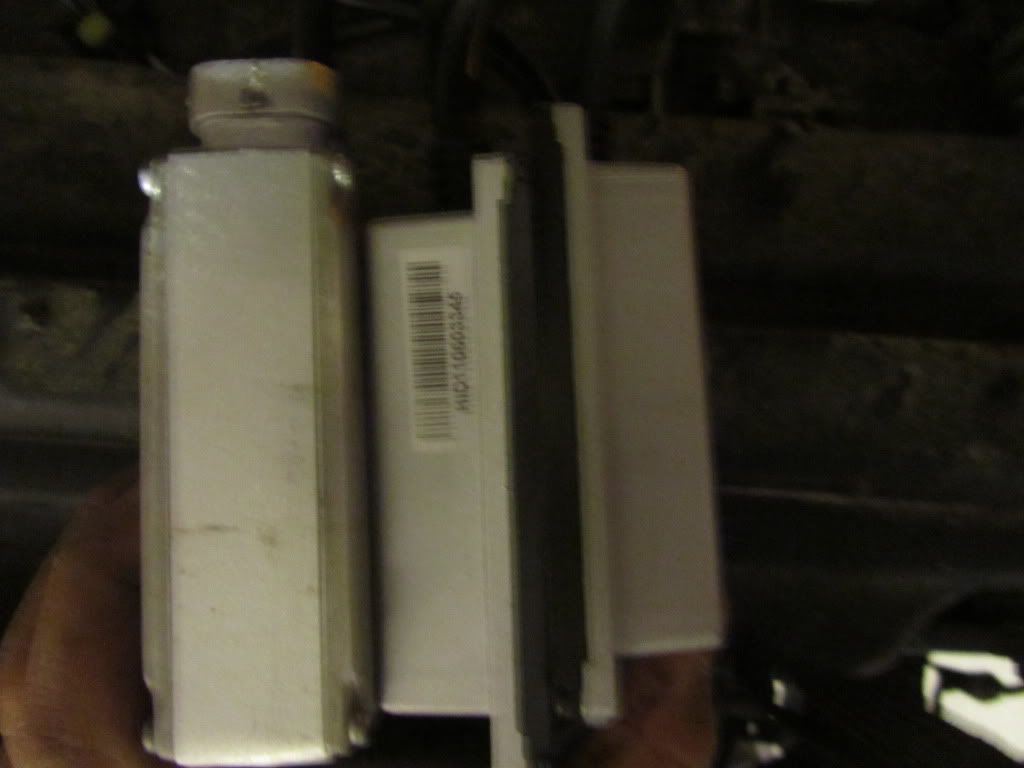
Check if your HID bulb is too long for the fog light
Now place the H3 HID bulb and bend the tabs together so that it can be held in place. Make sure it is flush and seated straight.
Seal the bulbs surrounding using clear silicone. People are against this but it is easy to peel silicone if the bulb burns out
Using the gasket that came with the H3 HID kit, push it down into the silicone. The silicone will spread but level it on top of the gasket. The gasket pushes the silicone into the seams if the gasket is seated flush. This will not be seen anyways. Make sure gasket is submerged into the silicone after it is pushed down
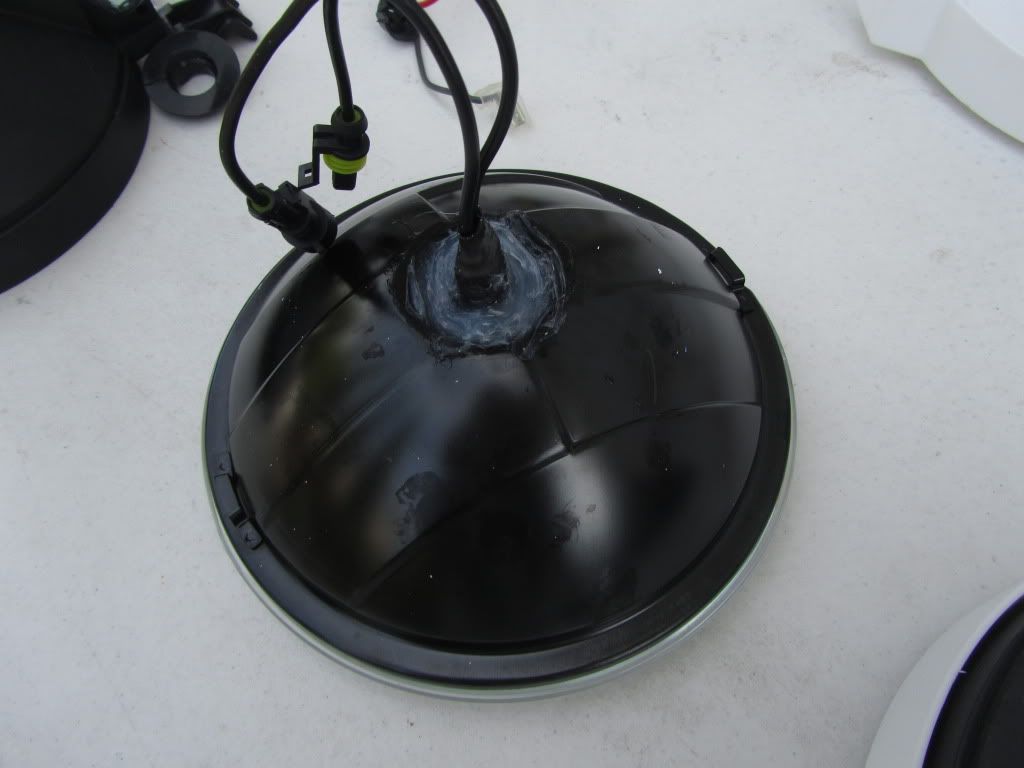
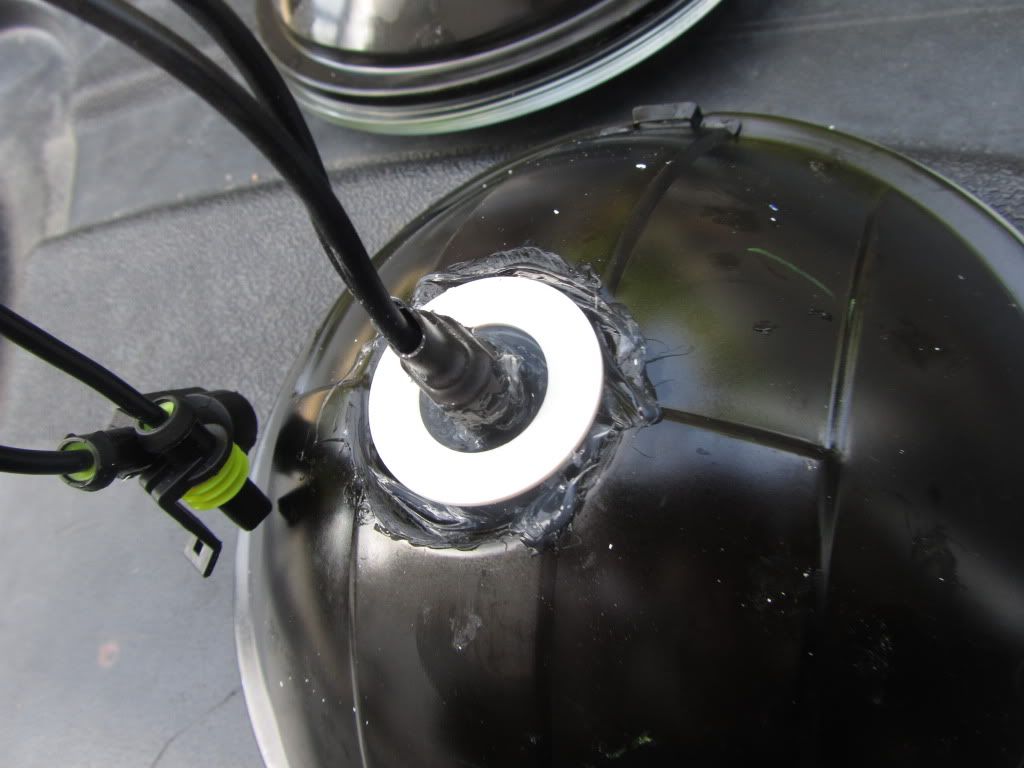
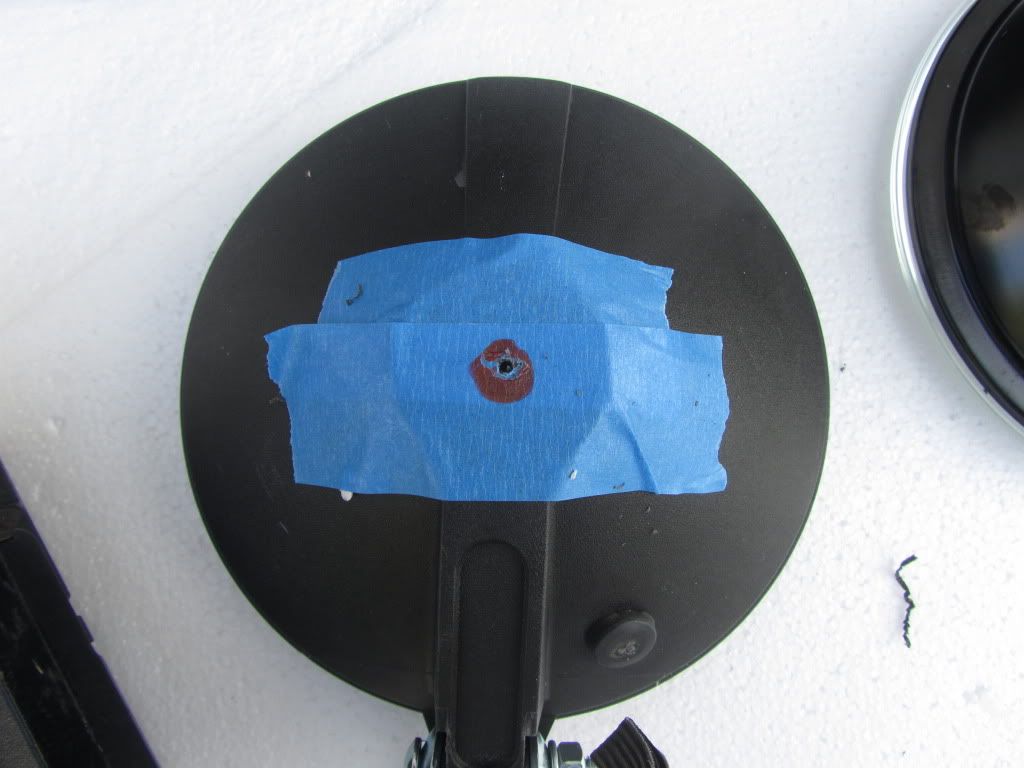
Now on to the rear portion of the housing/outer casing. Drill a hole that is big enough to let the wiring through the back, since the HID bulb's wiring is longer than the halogen. The hole also needs to be big enough to accommodate the rubber boot that came with the HID bulbs.
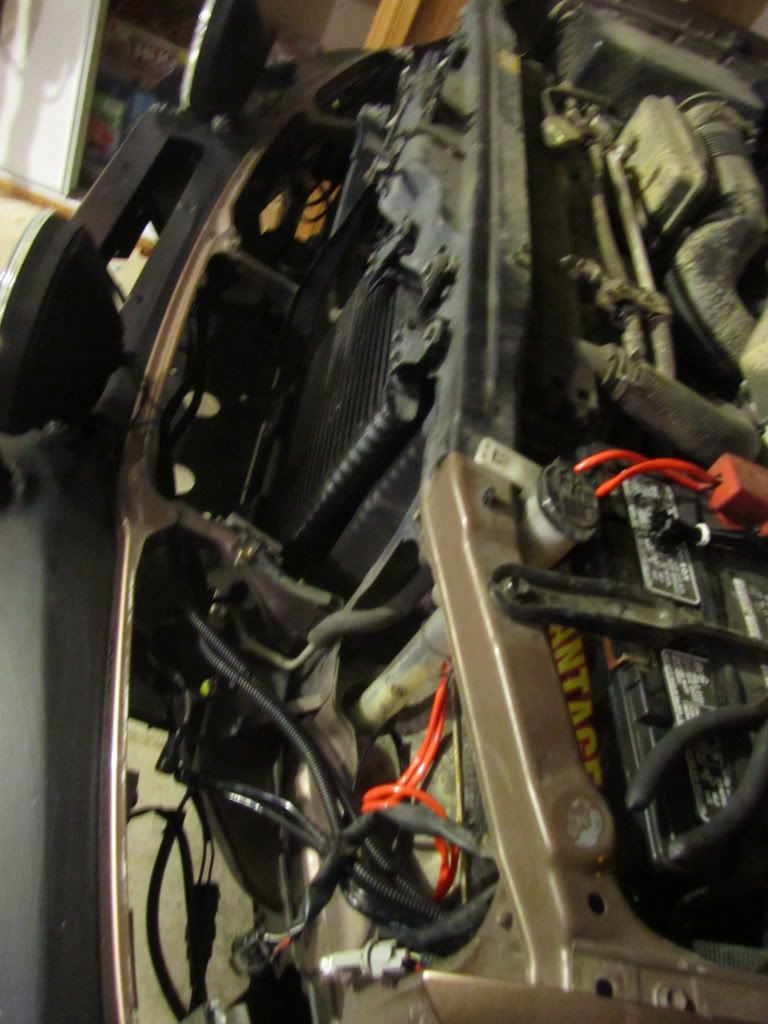
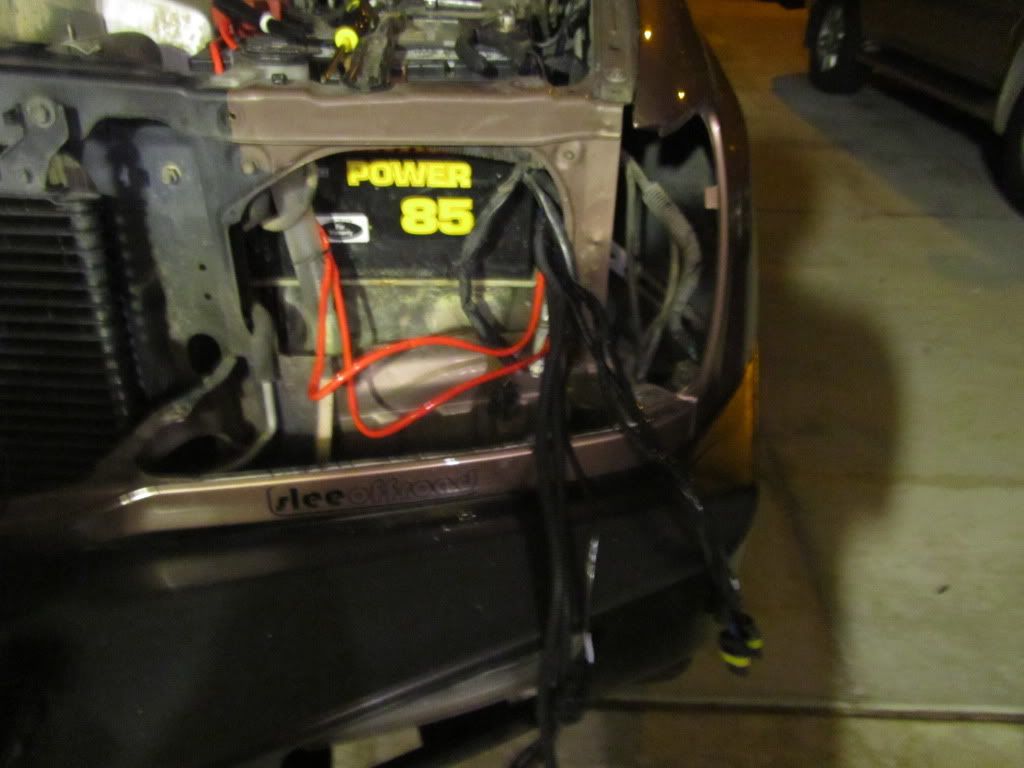
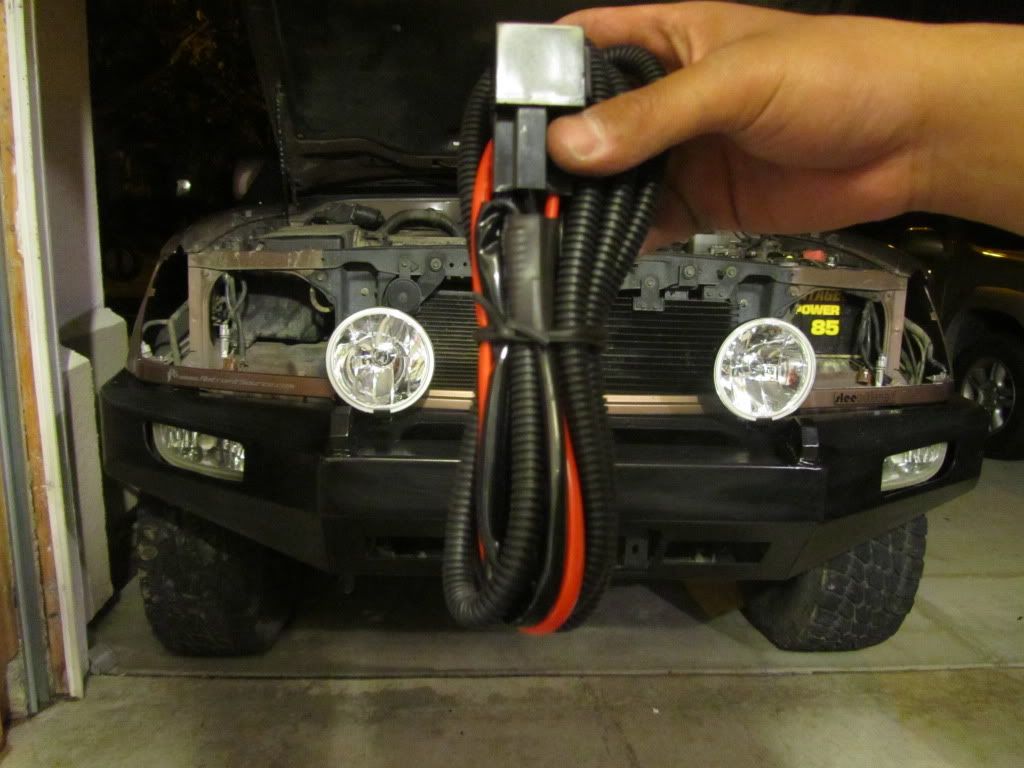
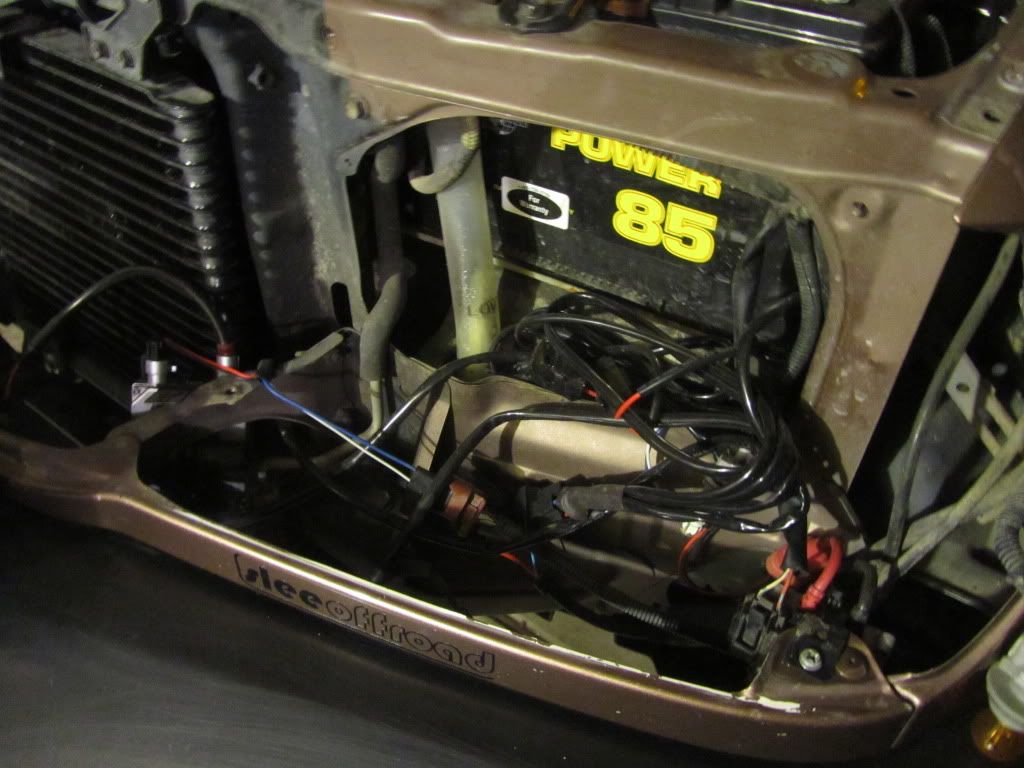
Now the real fun begins. I had an HID kit installed with a relay so I will do a how to when I add the second relay. Remember that I will use the two oem wiring outputs to power the four hella lights. The harness that I am using is the key..more on that later
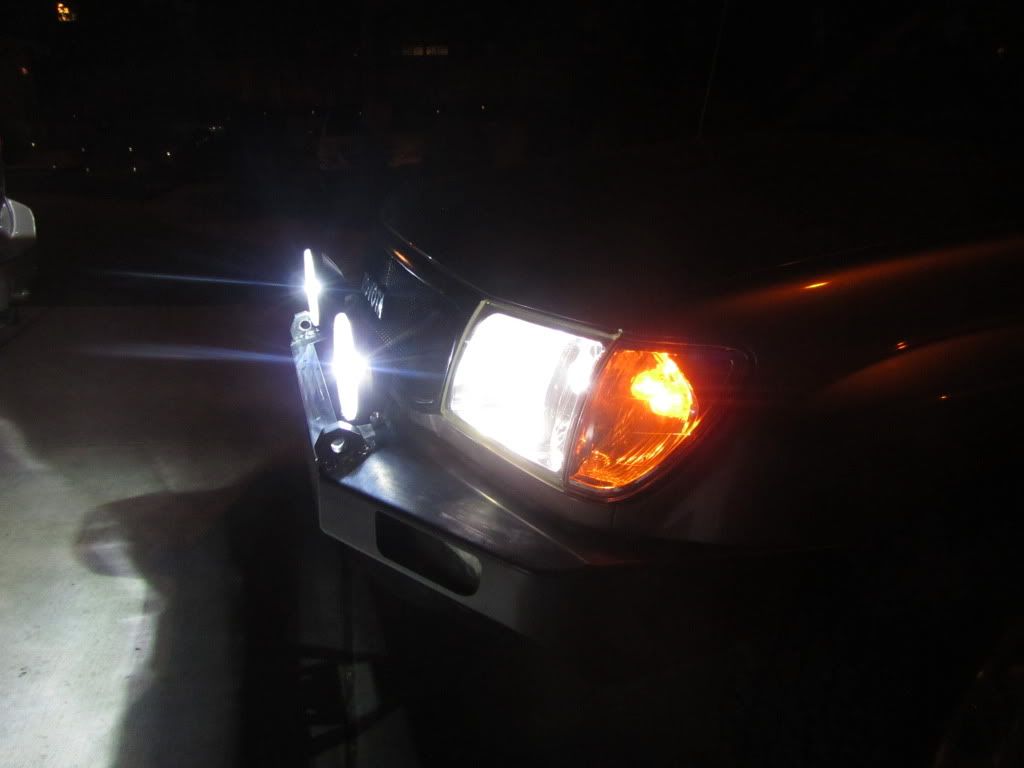
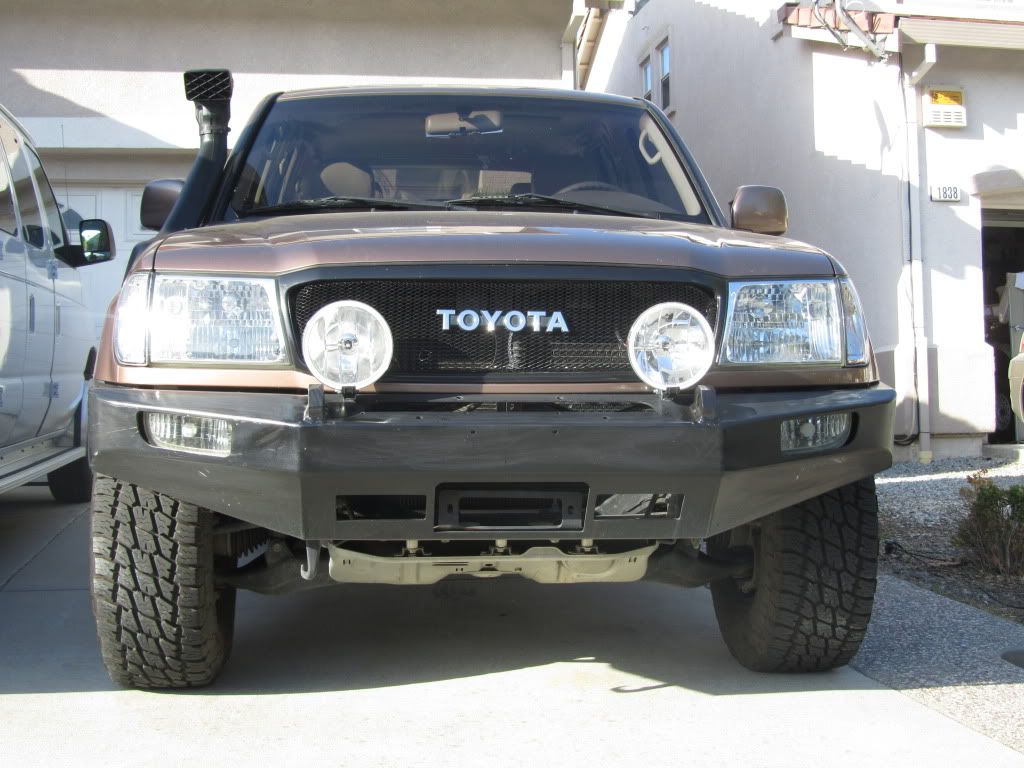
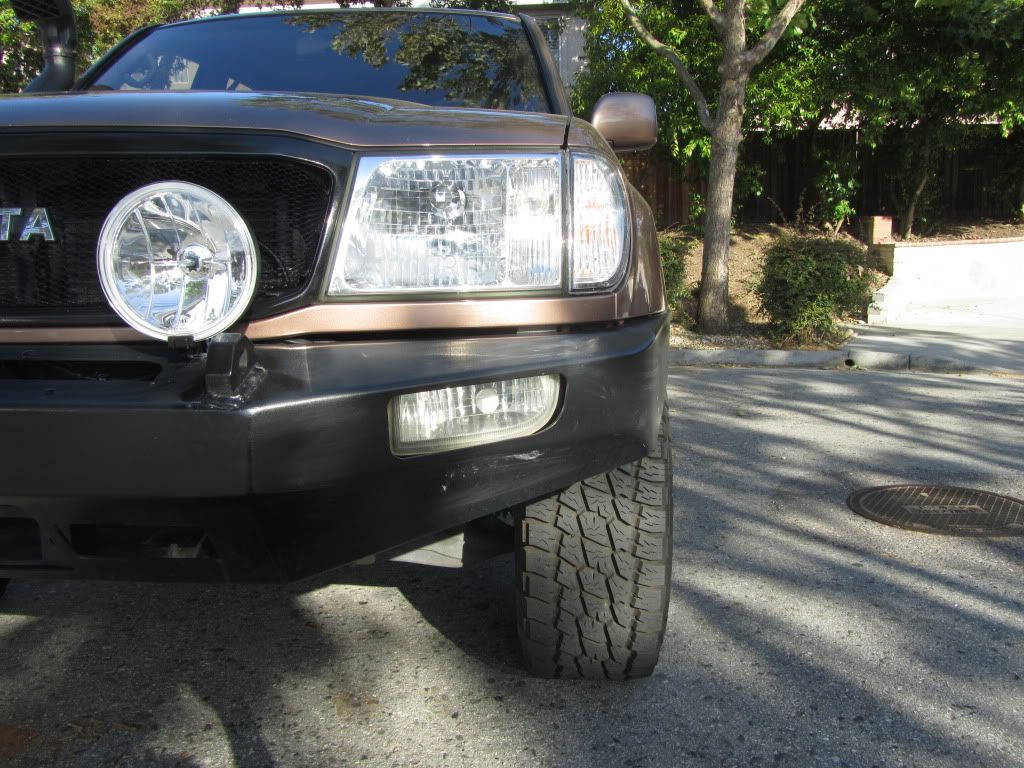
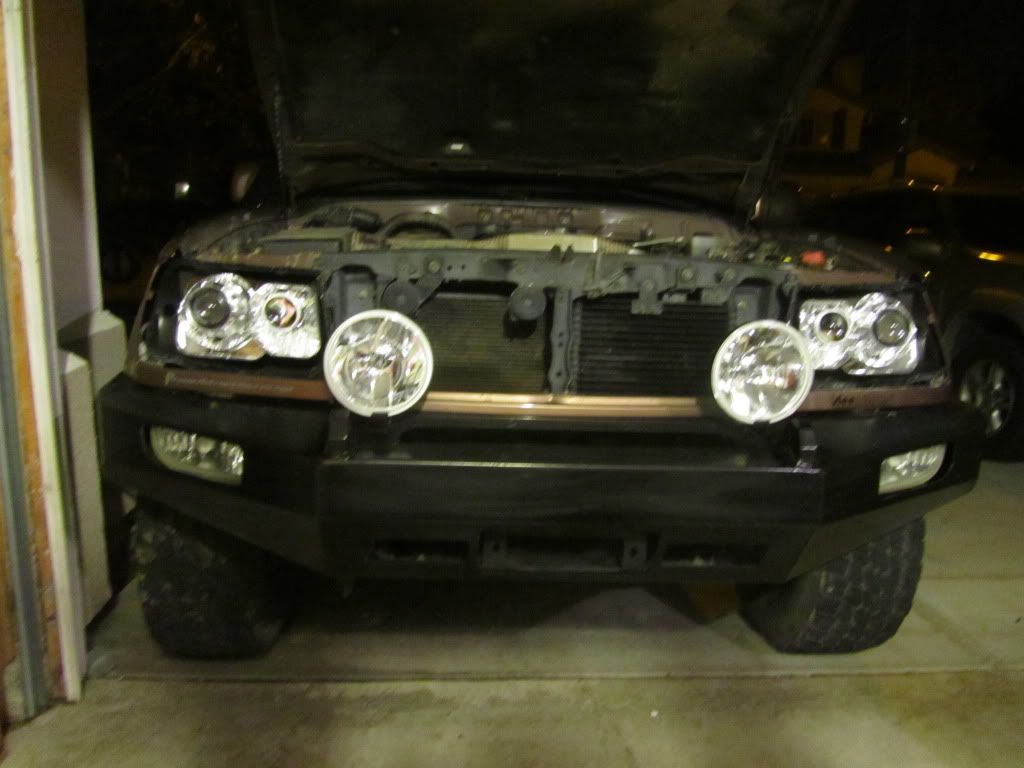
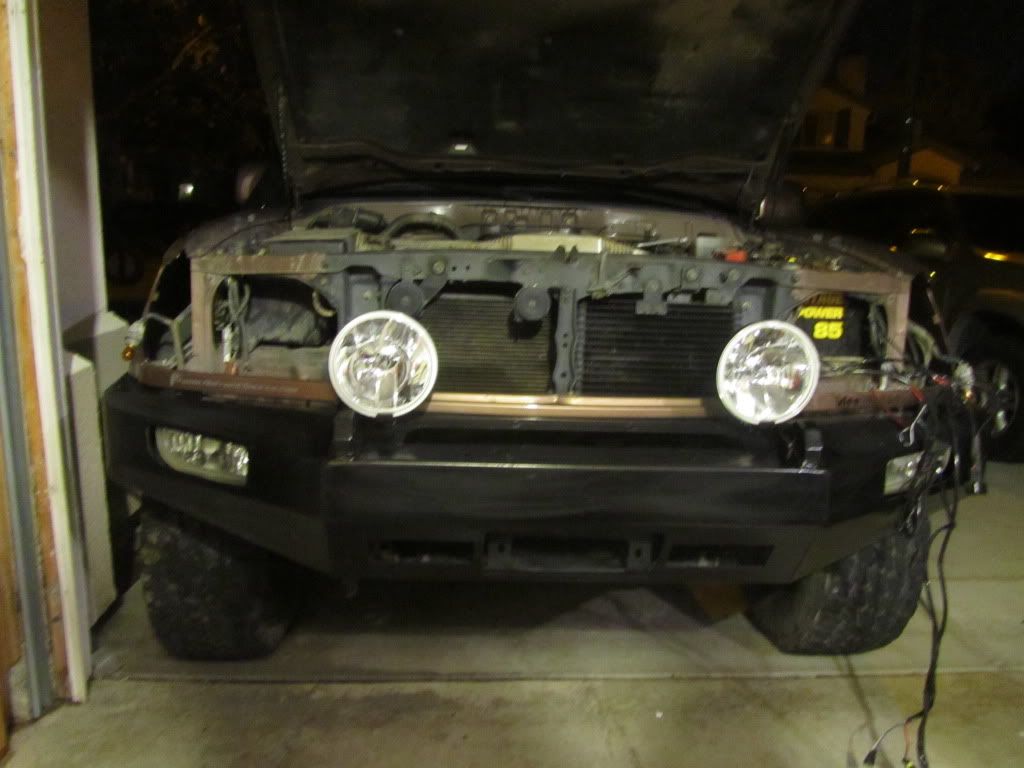
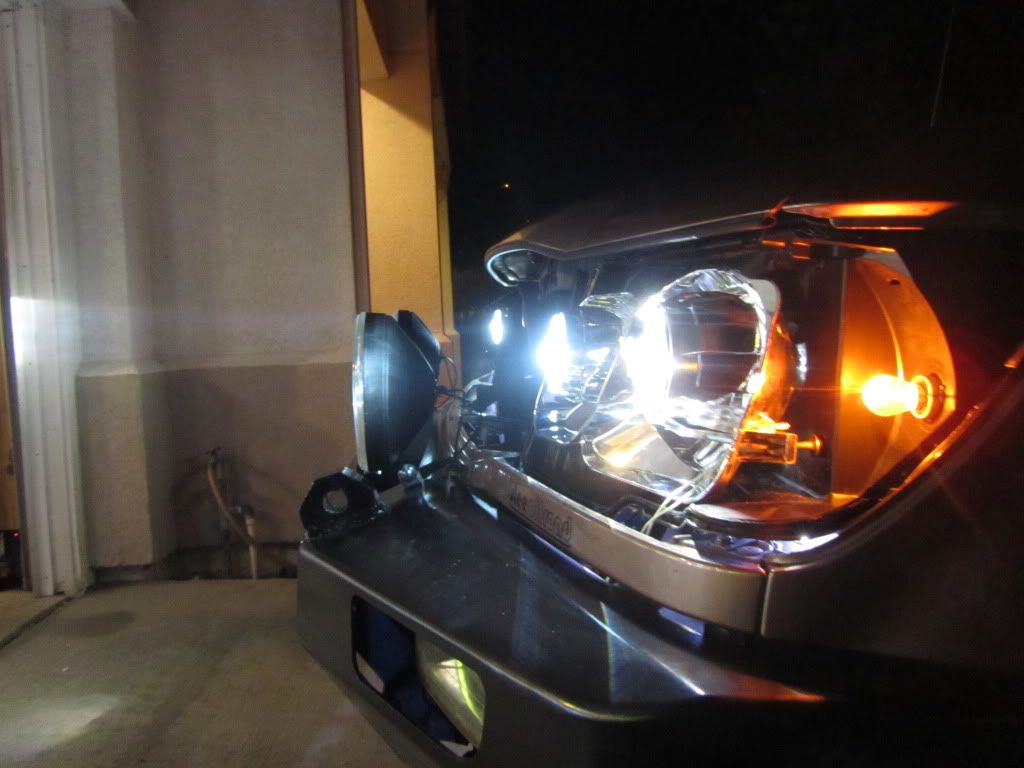
Plug in the HID kit's ballasts to the original fog light wiring, and plug in the HID bulbs into the ballasts. Now turn on your headlights and oem fog light switch.
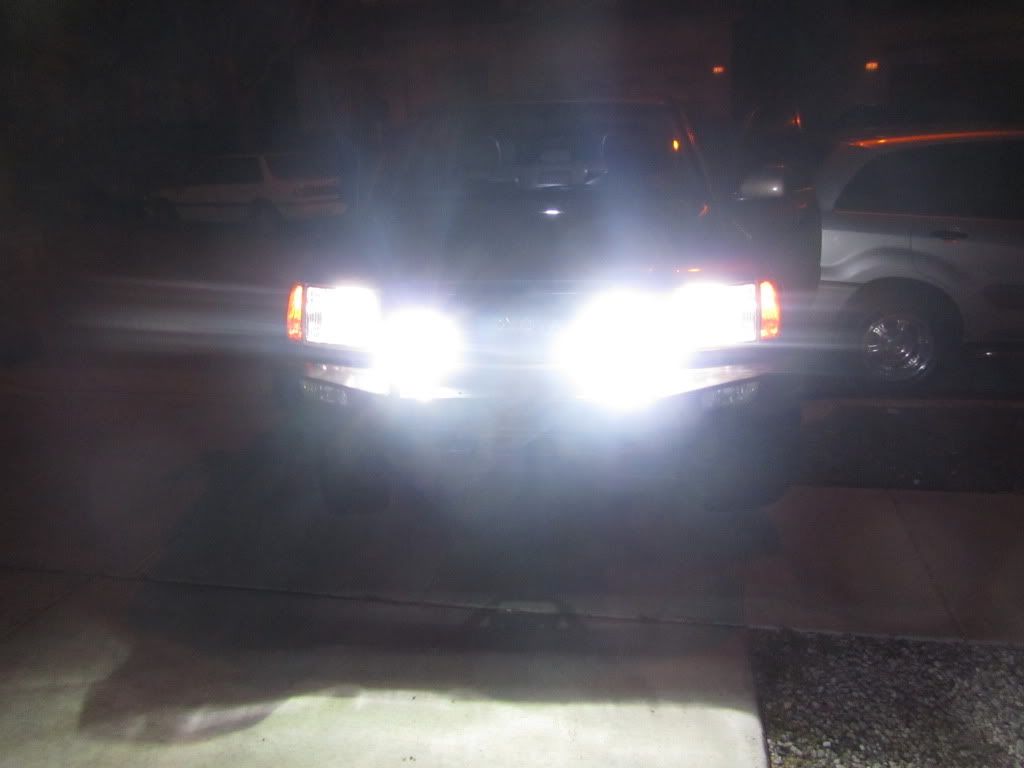
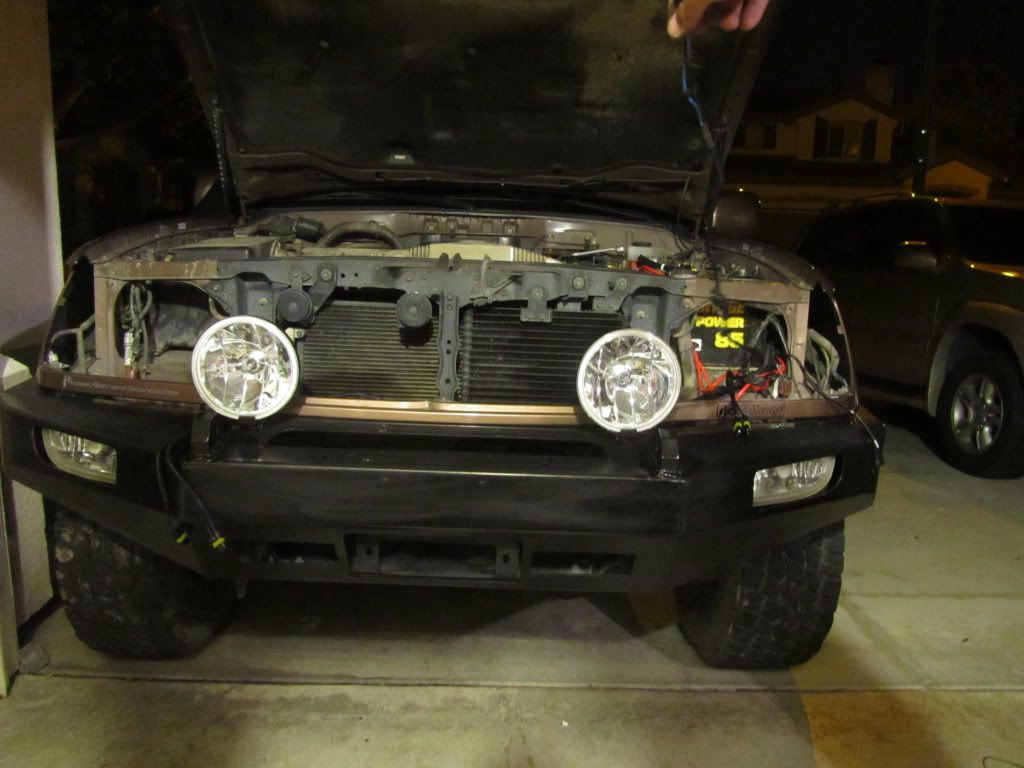
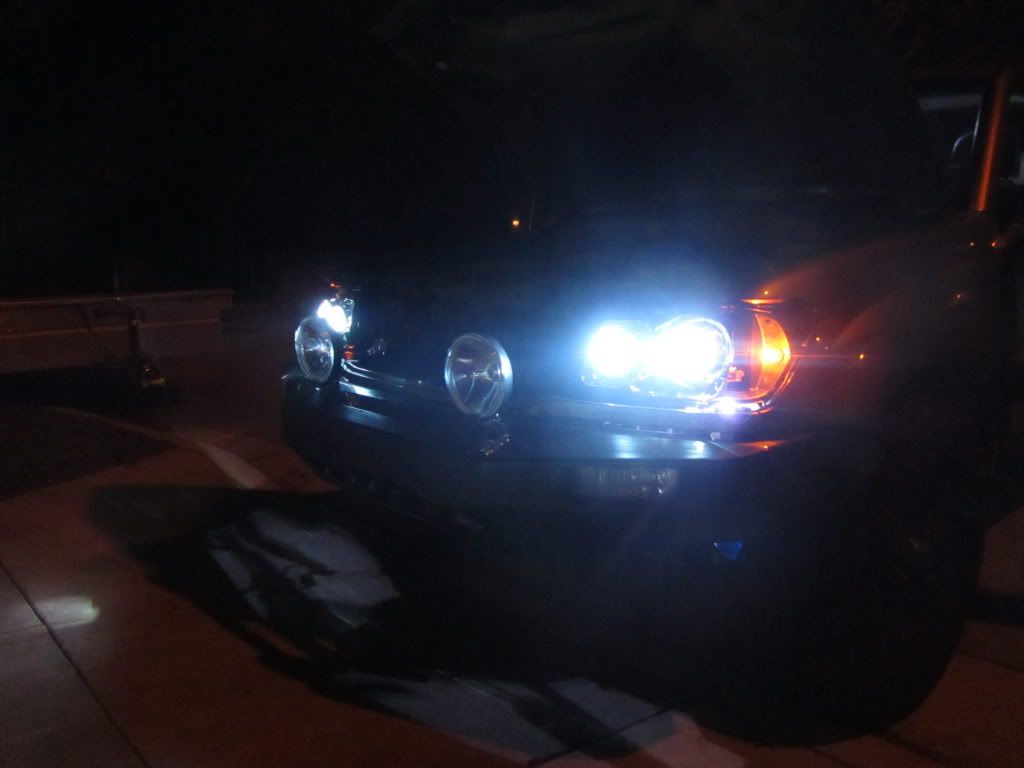
Only did two today but...
Coming soon: four foglights using OEM fog light wiring. How to wire the relay
This is perfect if you had to leave out your fog light wiring because your new armor could not accomodate the oem fog lights and its wiring. Easy and must do upgrade IMO!
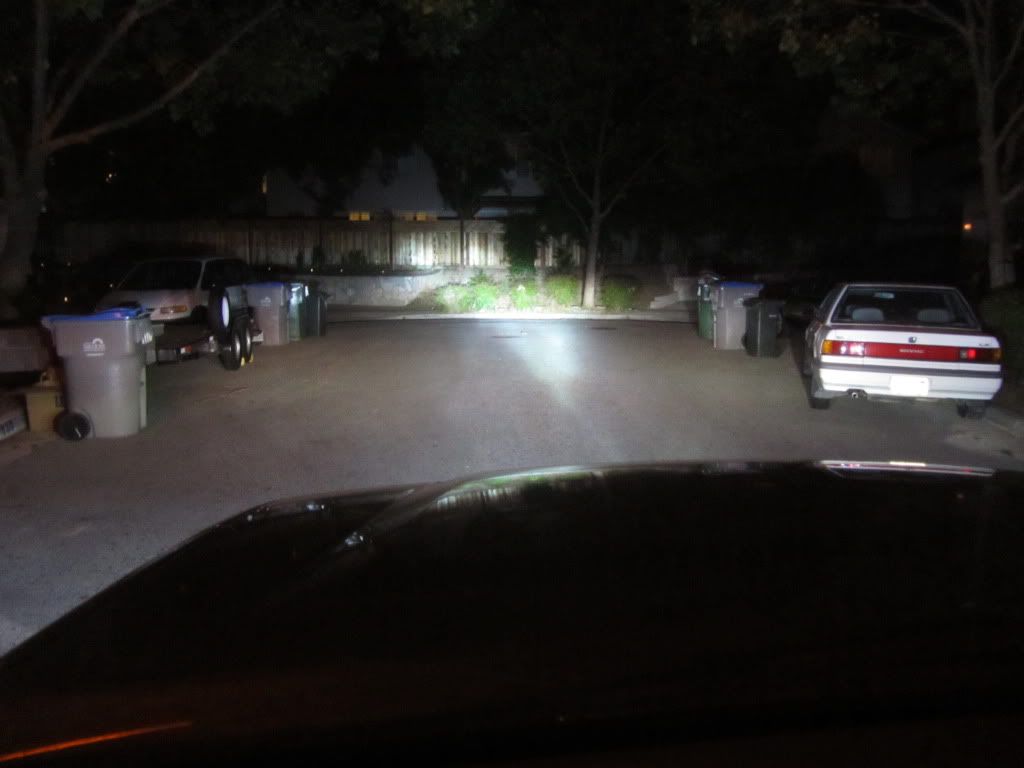
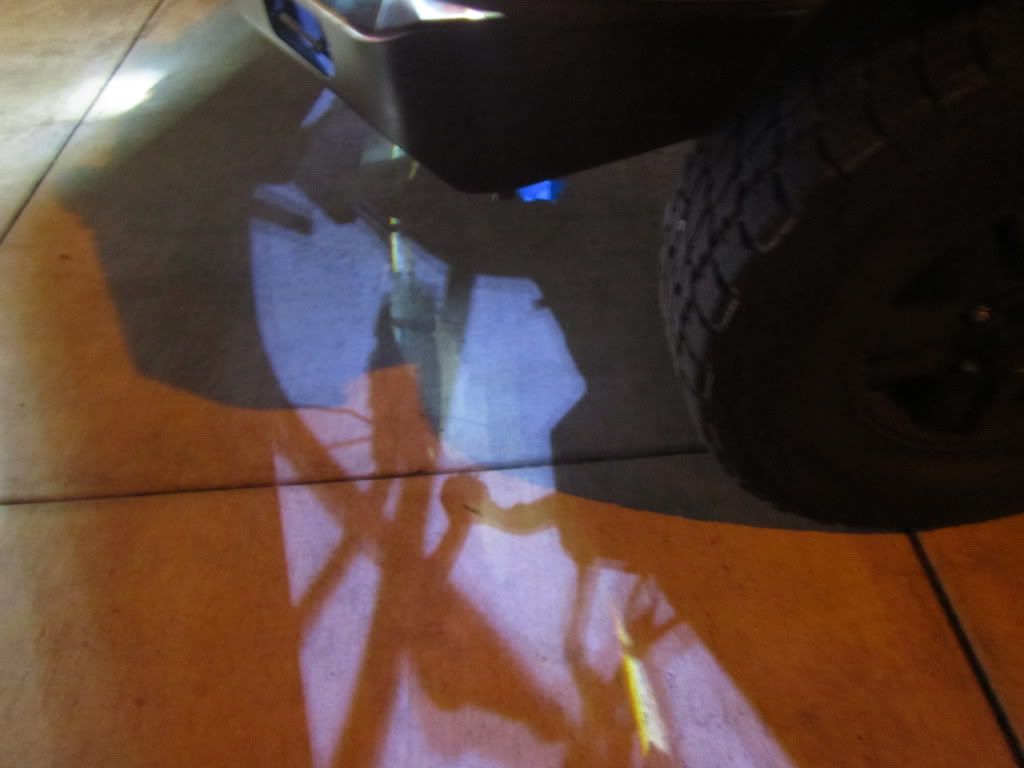
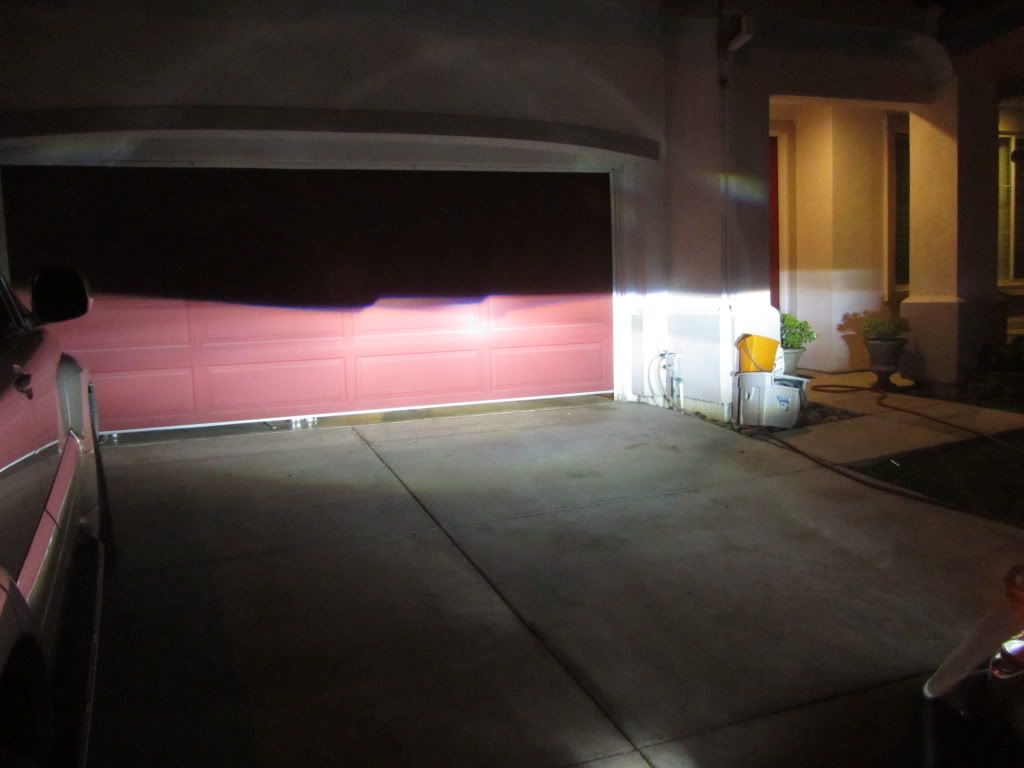
Night time pics to be added