SUBURBICON, Urban Escape Vehicle.

plumber mike

Adventurer
damn! ive seen a lot of chopped suburbans but yours is the first one ive seen done "right." excellent work man, perfect amount removed. i'm really glad your keeping it as clean as you are.
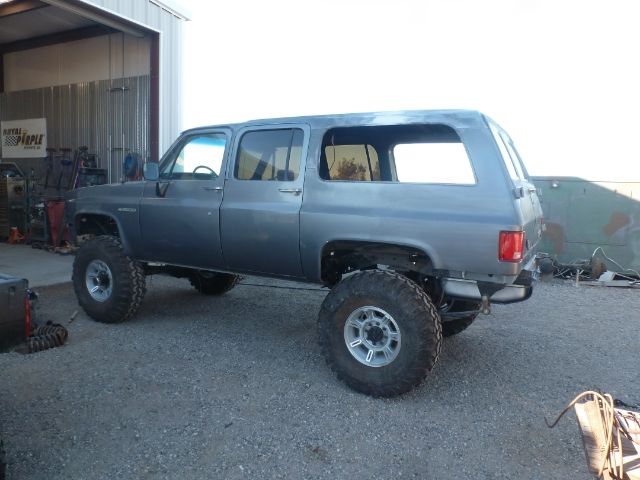
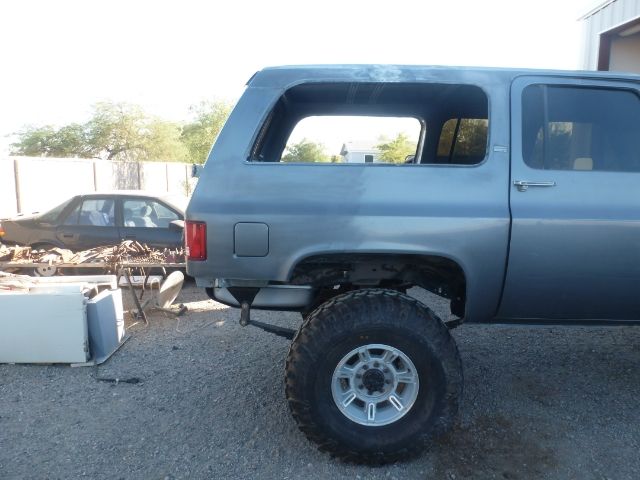
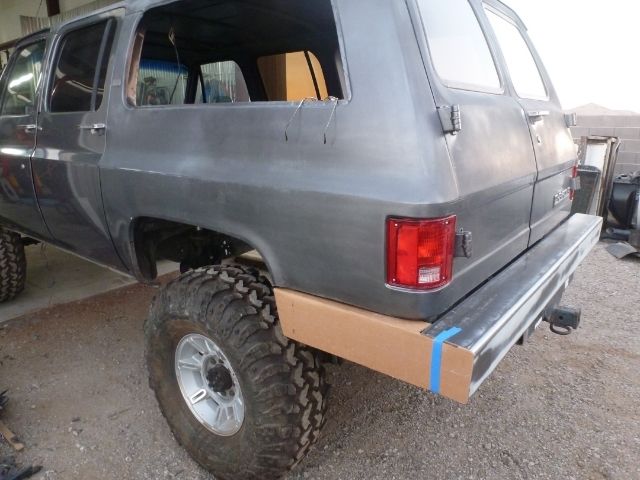
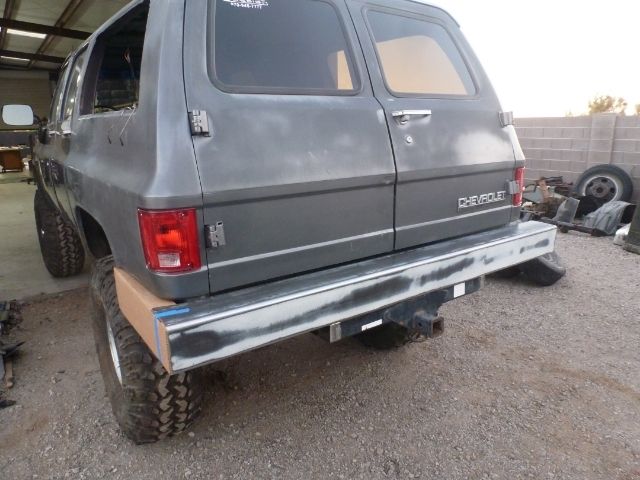
There is a picture floating around of a green sub with a blazer pop off top grafted that looked clean. I'll see if I can find it....for inspiration purposes. Every time I buy a fresh pack of blades I chicken out. The version in my head for me has a contractor style utility flip up door in place of the back windows. I saw a 73-91 that had the windows covered over to look like a panel wagon and I really like the look.

Speaking of look. This sub is looking awesome.
 

Dratwagon

Adventurer
Thanks, still on the fence with the bumper.
Lexan is on order and should be here on Thursday, tomorrow I pick up another rear bumper to start on.
 

Dratwagon

Adventurer
.
Had a little time today and got the body work wrapped up on the 1/4 panels, inside and outside, for now its blocked out to 80 grit primed and painted with some rattle cans and the roof is almost blocked out as well.
.
007-2.jpg

.
Also installed the new 31 gallon fuel tank and cut down the skid plate, time to start working on the bumper and cutting some windows.
.
001-5.jpg

.
 

Dratwagon

Adventurer
Started working on the rear bumper today now that I have the body work done for now.
Cut and tacked in the hitch, found some 6x6 3/16 square tube and cut the back out to go over the frame and tank.
.
011-2.jpg

.
I will be using 3x6 3/16 rectangular tube for the wings on the side.
I have some D rings and mounts from the cucv rear bumper.
.
012-1.jpg

.
As you can tell I'm using the most advanced CAD design.:D
 

Jeep

Supporting Sponsor: Overland Explorer Expedition V
That basic size fits the back end nicely and leaves a lot of room to incorporate features, Cardboard Aided Design is awesome! What's amazing about having a company that uses Solidworks and AutoCad is how quickly the guys down the line become so dependant on it, they seem to forget how to think and create, it becomes a bit of a dependancy. I still like cardboard! Now you have to do a front bumper!
 

cyclic

Adventurer
Yours is looking good!!!

I used some brackets from TNA and over sleeved it with 2x6 tubing. Cut and welded in some taper and slope to it. Capped the ends. Still need to add some 3 inch flat stock to the top and outsides to better fit it to the shape on mine.

Ef0fmD.jpg


u3zmLR.jpg
 

Dratwagon

Adventurer
That basic size fits the back end nicely and leaves a lot of room to incorporate features, Cardboard Aided Design is awesome! What's amazing about having a company that uses Solidworks and AutoCad is how quickly the guys down the line become so dependant on it, they seem to forget how to think and create, it becomes a bit of a dependancy. I still like cardboard! Now you have to do a front bumper!

"Now you have to do a front bumper !" Really, let me get done with this one, it hurts enough just thinking about the rear bumper. :rolleyes:
 

Dratwagon

Adventurer
Thanks cyclic, I have been checking out your bumper build and I really like the tapper and slope but I think it might be to much for mine but then I'm far from being done.
 

cyclic

Adventurer
The main reason for some of the way I did it was to limit the hard outer 90 degree end, which ALWAYS catches a soft part of your body. Happens EVERY time. You could take the outer corners back two inches each way and do a 45 degree corner. Or do a nice pie cut two inches forward and going in to the middle about 4 inches. Would come out pretty nice for not too much more work.
You going to tie the forward "fender" guards back to the frame?
 

Dratwagon

Adventurer
The main reason for some of the way I did it was to limit the hard outer 90 degree end, which ALWAYS catches a soft part of your body. Happens EVERY time. You could take the outer corners back two inches each way and do a 45 degree corner. Or do a nice pie cut two inches forward and going in to the middle about 4 inches. Would come out pretty nice for not too much more work.
You going to tie the forward "fender" guards back to the frame?

you can't see it in the picture but I plan on rounding the corner with the same radius of the body, I do plan on tying the guards into the frame both at the ends and the corners.

Ps. Thanks for your input.
 
Last edited:

cyclic

Adventurer
Again, love the work.

Have you looked at PMA4x4 front bumper kit? It's pretty sweet. I went with TNA modular winch plate for mine and will eventually build a bumper around it. The PMA is a clean bumper, but I wanted mine a little higher for ground clearance. So I had TNA do mine with a 2 inch raise in the brackets.

xh2m.jpg


You can see how far back they tie into the frame.

0cpm.jpg


And how much front approach I have with the fangs trimmed.
 

Forum statistics

Threads
187,472
Messages
2,894,892
Members
228,400
Latest member
rpinkall1
Top